
I’m on the Love My Tapes blog today with this card made for a special friend. Check it out, here.

I’m on the Love My Tapes blog today with this card made for a special friend. Check it out, here.
April’s challenge at Scrap It Girl is to create a project using only black and white and one additional color.
I decided to stick with mostly white — using black and yellow as an accent — and play with texture. Here’s what I came up with ….
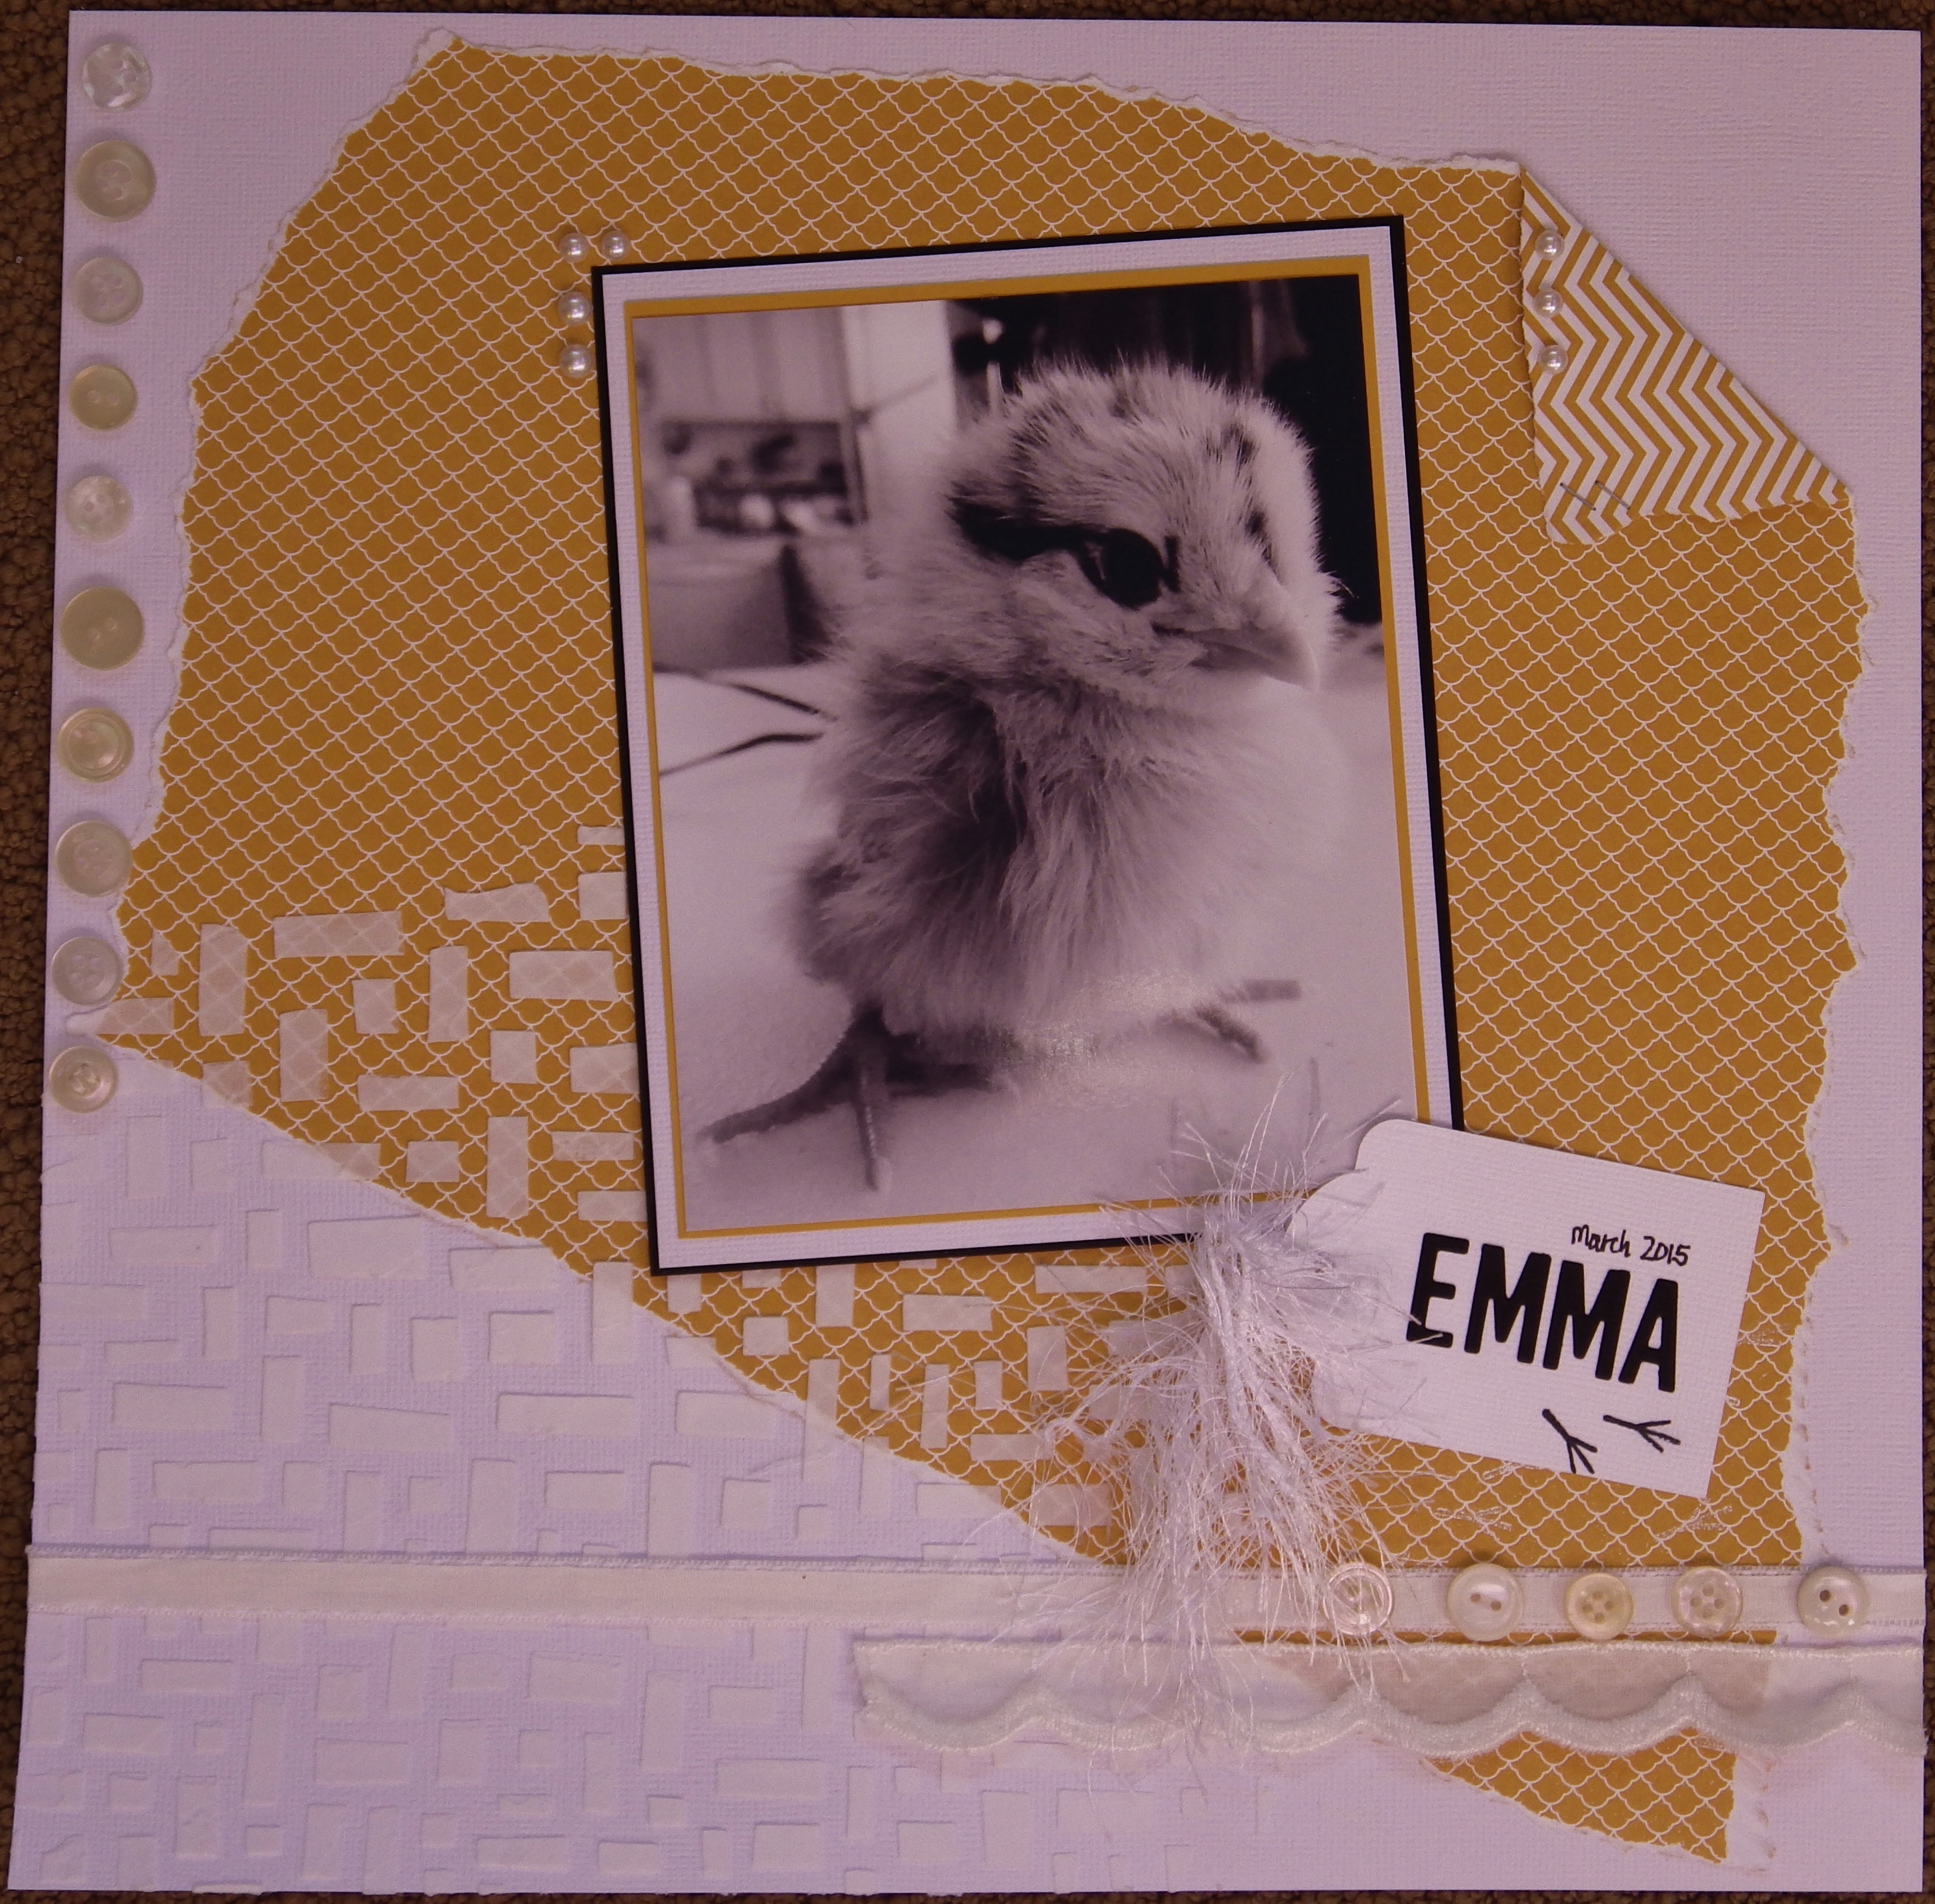
This is one of my new chickens, Emma, an Ameraucana hen. She’ll lay blue eggs when she grows up. Chickens grow so fast and change so quickly, I take lots of pictures and I thought this one would be perfect for this month’s challenge.
I started by ripping a piece of paper (Stampin’ Up), folded the corner, stapled it and then adhered it to white cardstock. Then I used Texture Paste and a Dylusions stencil to add to the background.
 I triple matted the photo to make Emma really stand out and cut out a little tag for her name. I also added some white embossed chicken feet to the area under the tag, but they are hard to see.
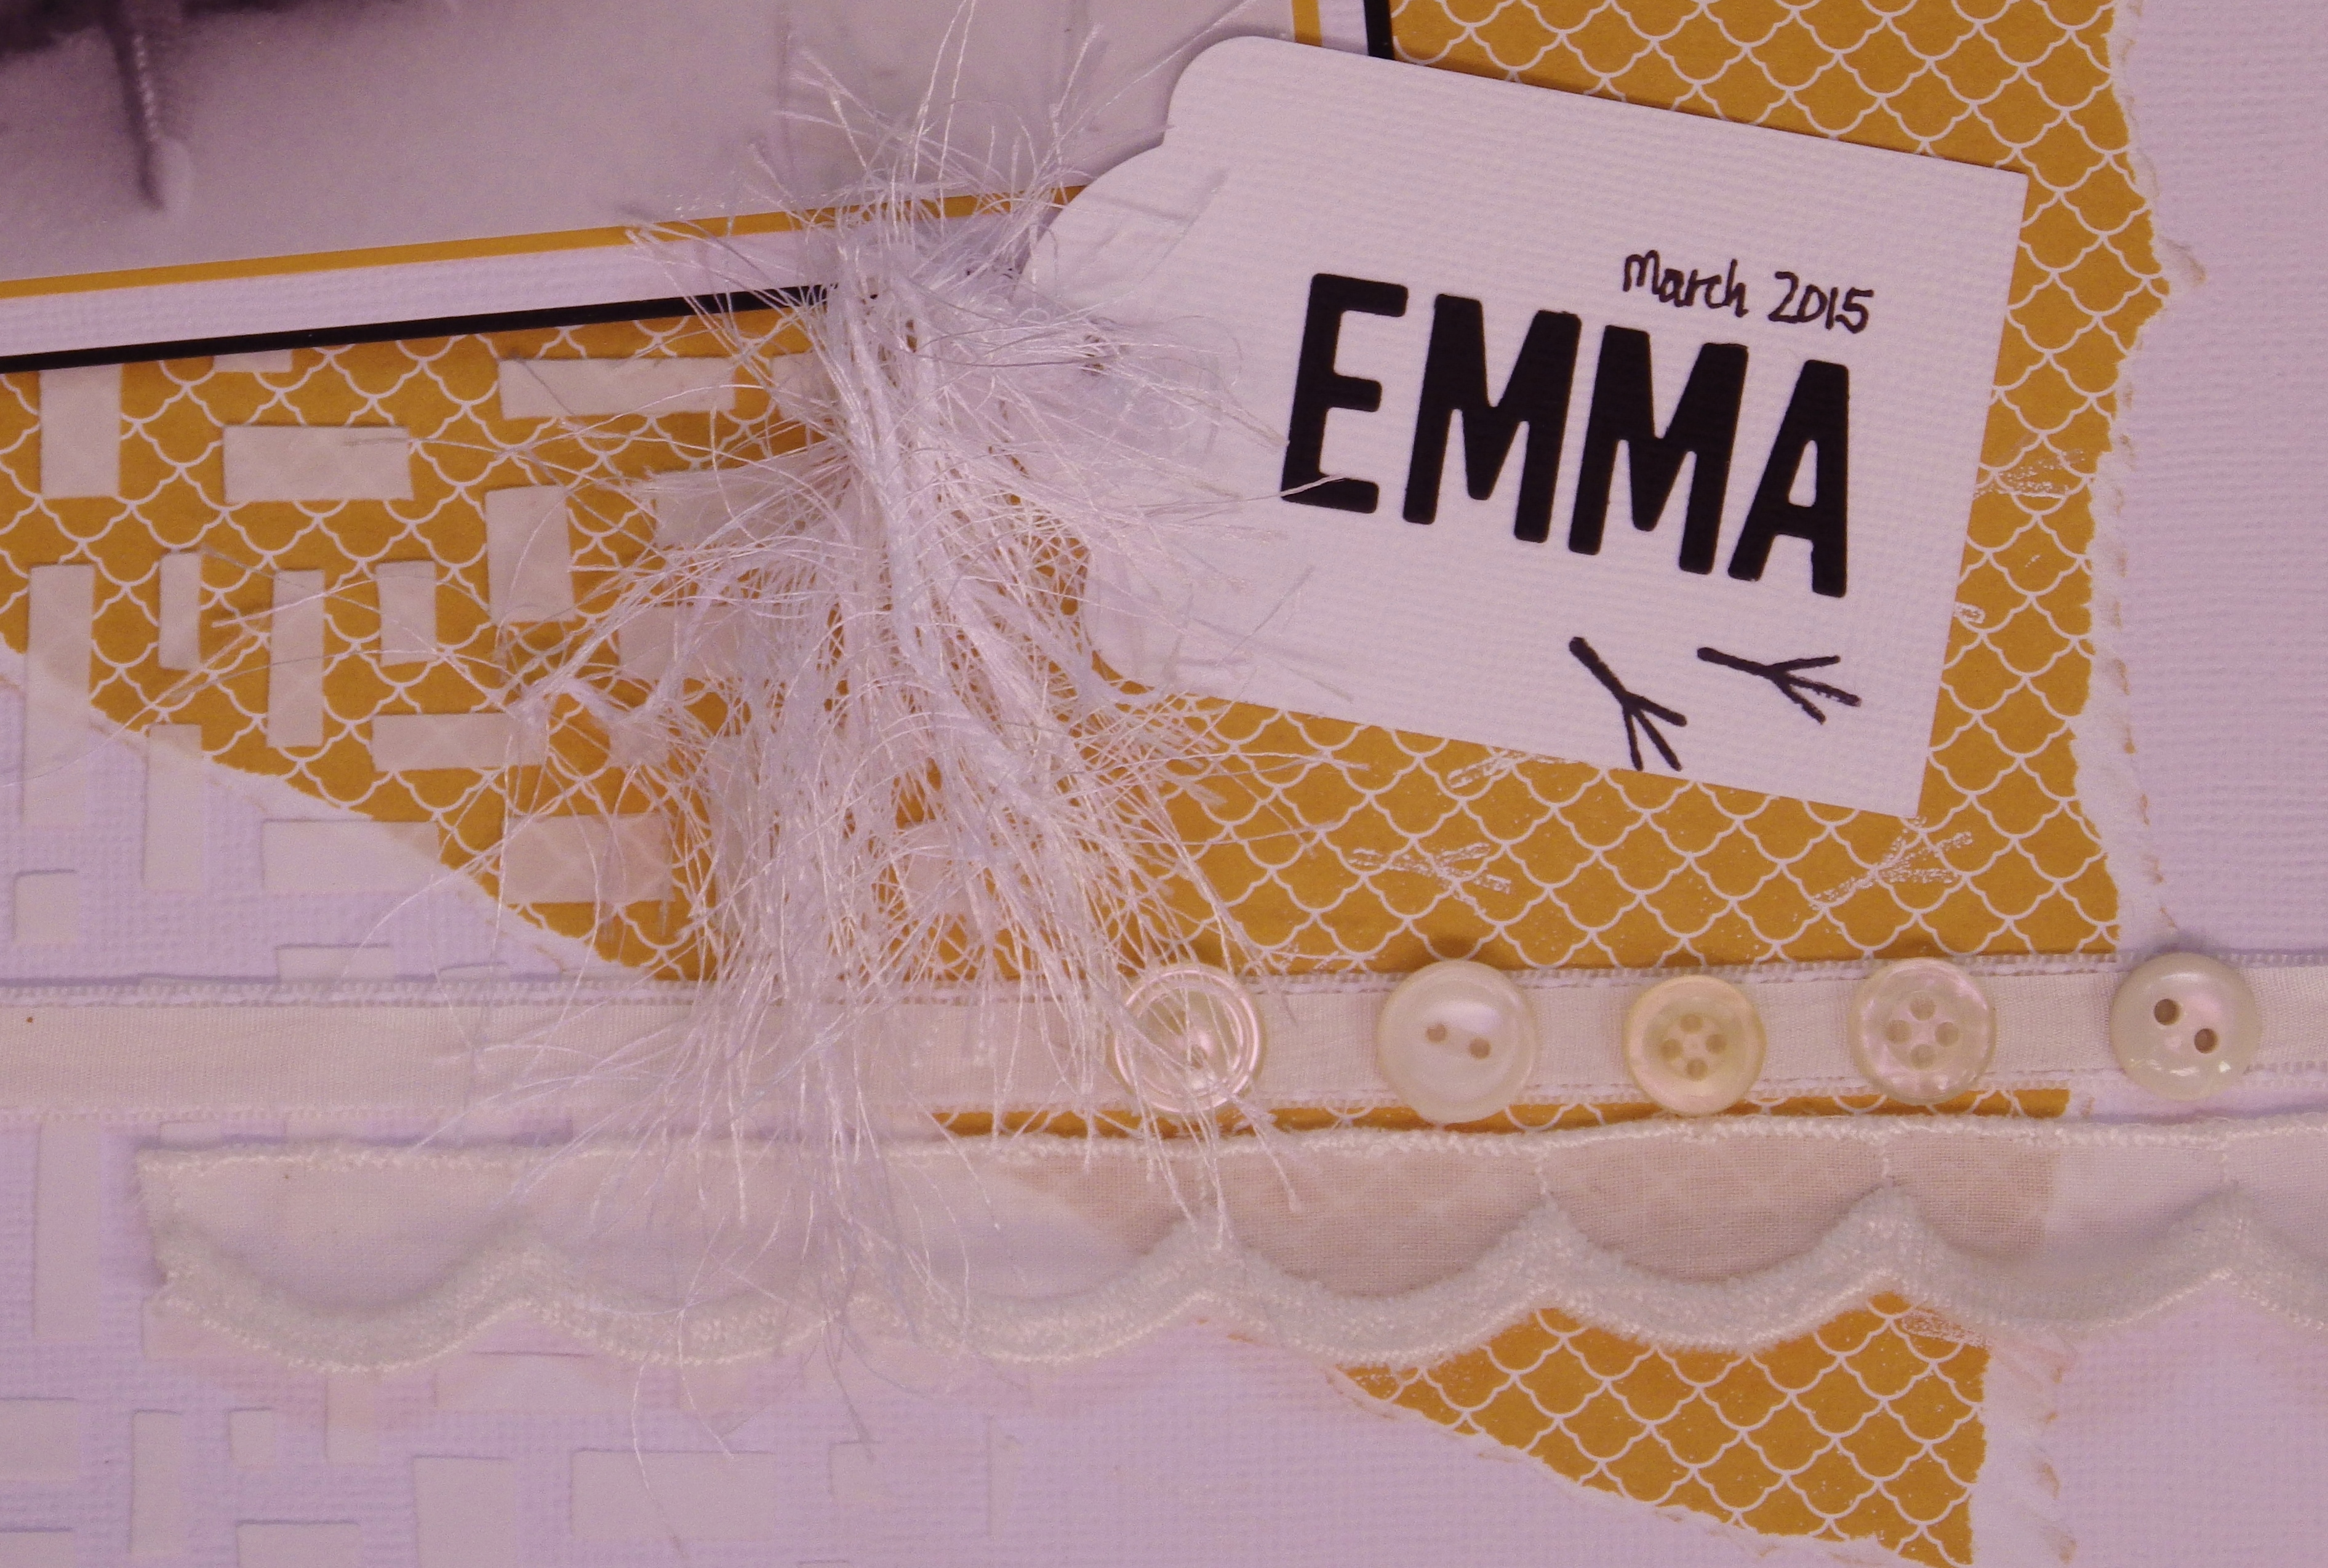
I also added a few ribbons and some vintage buttons to the page.

Then I added a few fibers and some little pearls.
(I know there is a pink cast to my pages … it was the only way I could get all of the white layers to really show up in the photo).
Now it is your turn. Create a project using only the colors white, black and one other. A project can be anything … a card, scrapbook page, home decor, banner, altered art, mixed media …. whatever you choose. Then share it at Scrap It Girl before the end of April. You could win a great selection of prizes! Good luck!!
 When I packed away the Christmas, my house felt naked. So, I decided to decorate a bit for winter. I made a little wreath for my door, hung up snowman kitchen towels, and made this adorable little winter banner.
Visit the Elizabeth Craft Designs’ Blog today to see how I did it.
 I love winter … wait … before you throw snowballs at me, let me explain … I love all of the seasons. I enjoy the changing views out my window. And I always enjoy those first few snowfalls of winter, when the sun shines and the sky is blue and everything is white and sparkly and beautiful.
Yes, soon I will be complaining about the cold, but for the moment, I am enjoying winter.
Which leads me to this month’s card for my card swap … our theme was winter and we were also asked to make a tag this time.
I used Stampin’ Up cardstock and patterned paper, Close To My Heart stamp (on the tag) and glitter paper, Sizzix tag die, Tim Holtz snowflake die, Memory Box sentiment, cork ribbon from Michael’s, twine from Prima and, my favorite part, an embossing folder from Elizabeth Craft Designs.
What do you think of this creation?

I’m on the Elizabeth Craft Designs blog today with a tutorial on how to create this beautiful holiday card. Check it out, here.
The market is filled with rubber and acrylic stamps that have matching dies. I, for one, am a huge fan, since it means no more fussy cutting! BUT, storing them is not quite as convenient.
I store my stamps in several different containers. Some are kept in pocket pages, like these …
 Others are kept in storage containers like these …

I love my stamps stored this way and I want the matching dies kept close by. However, if I put dies in any of these systems, I am afraid they will bend.
I have my dies in Art Bin boxes like this …
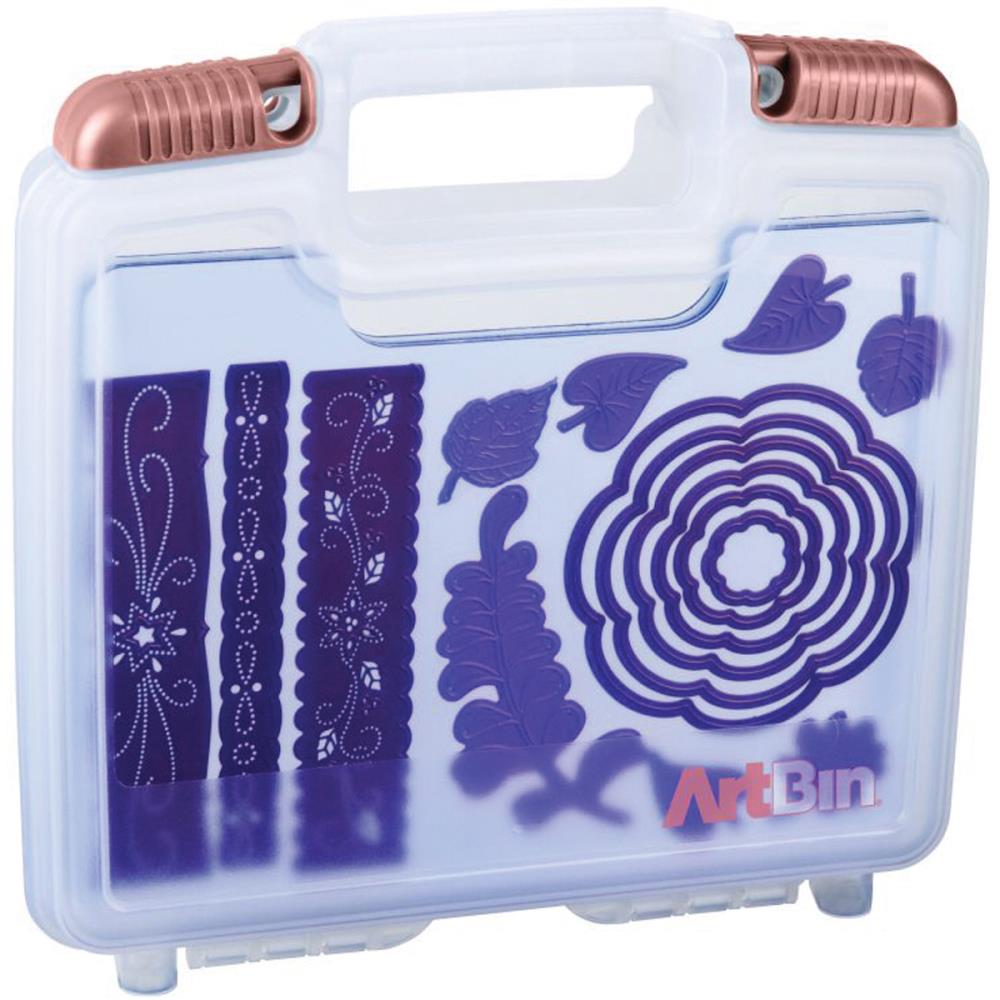
I love this system, but I am afraid if I put stamps in with the dies, they would get squished.
Fortunately, I have amazing friends. My friend Jill came up with a brilliant idea that has worked perfectly. It starts with an empty case from Stampin’ Up. (please ignore my messy desk. It is my creative mind at work …)

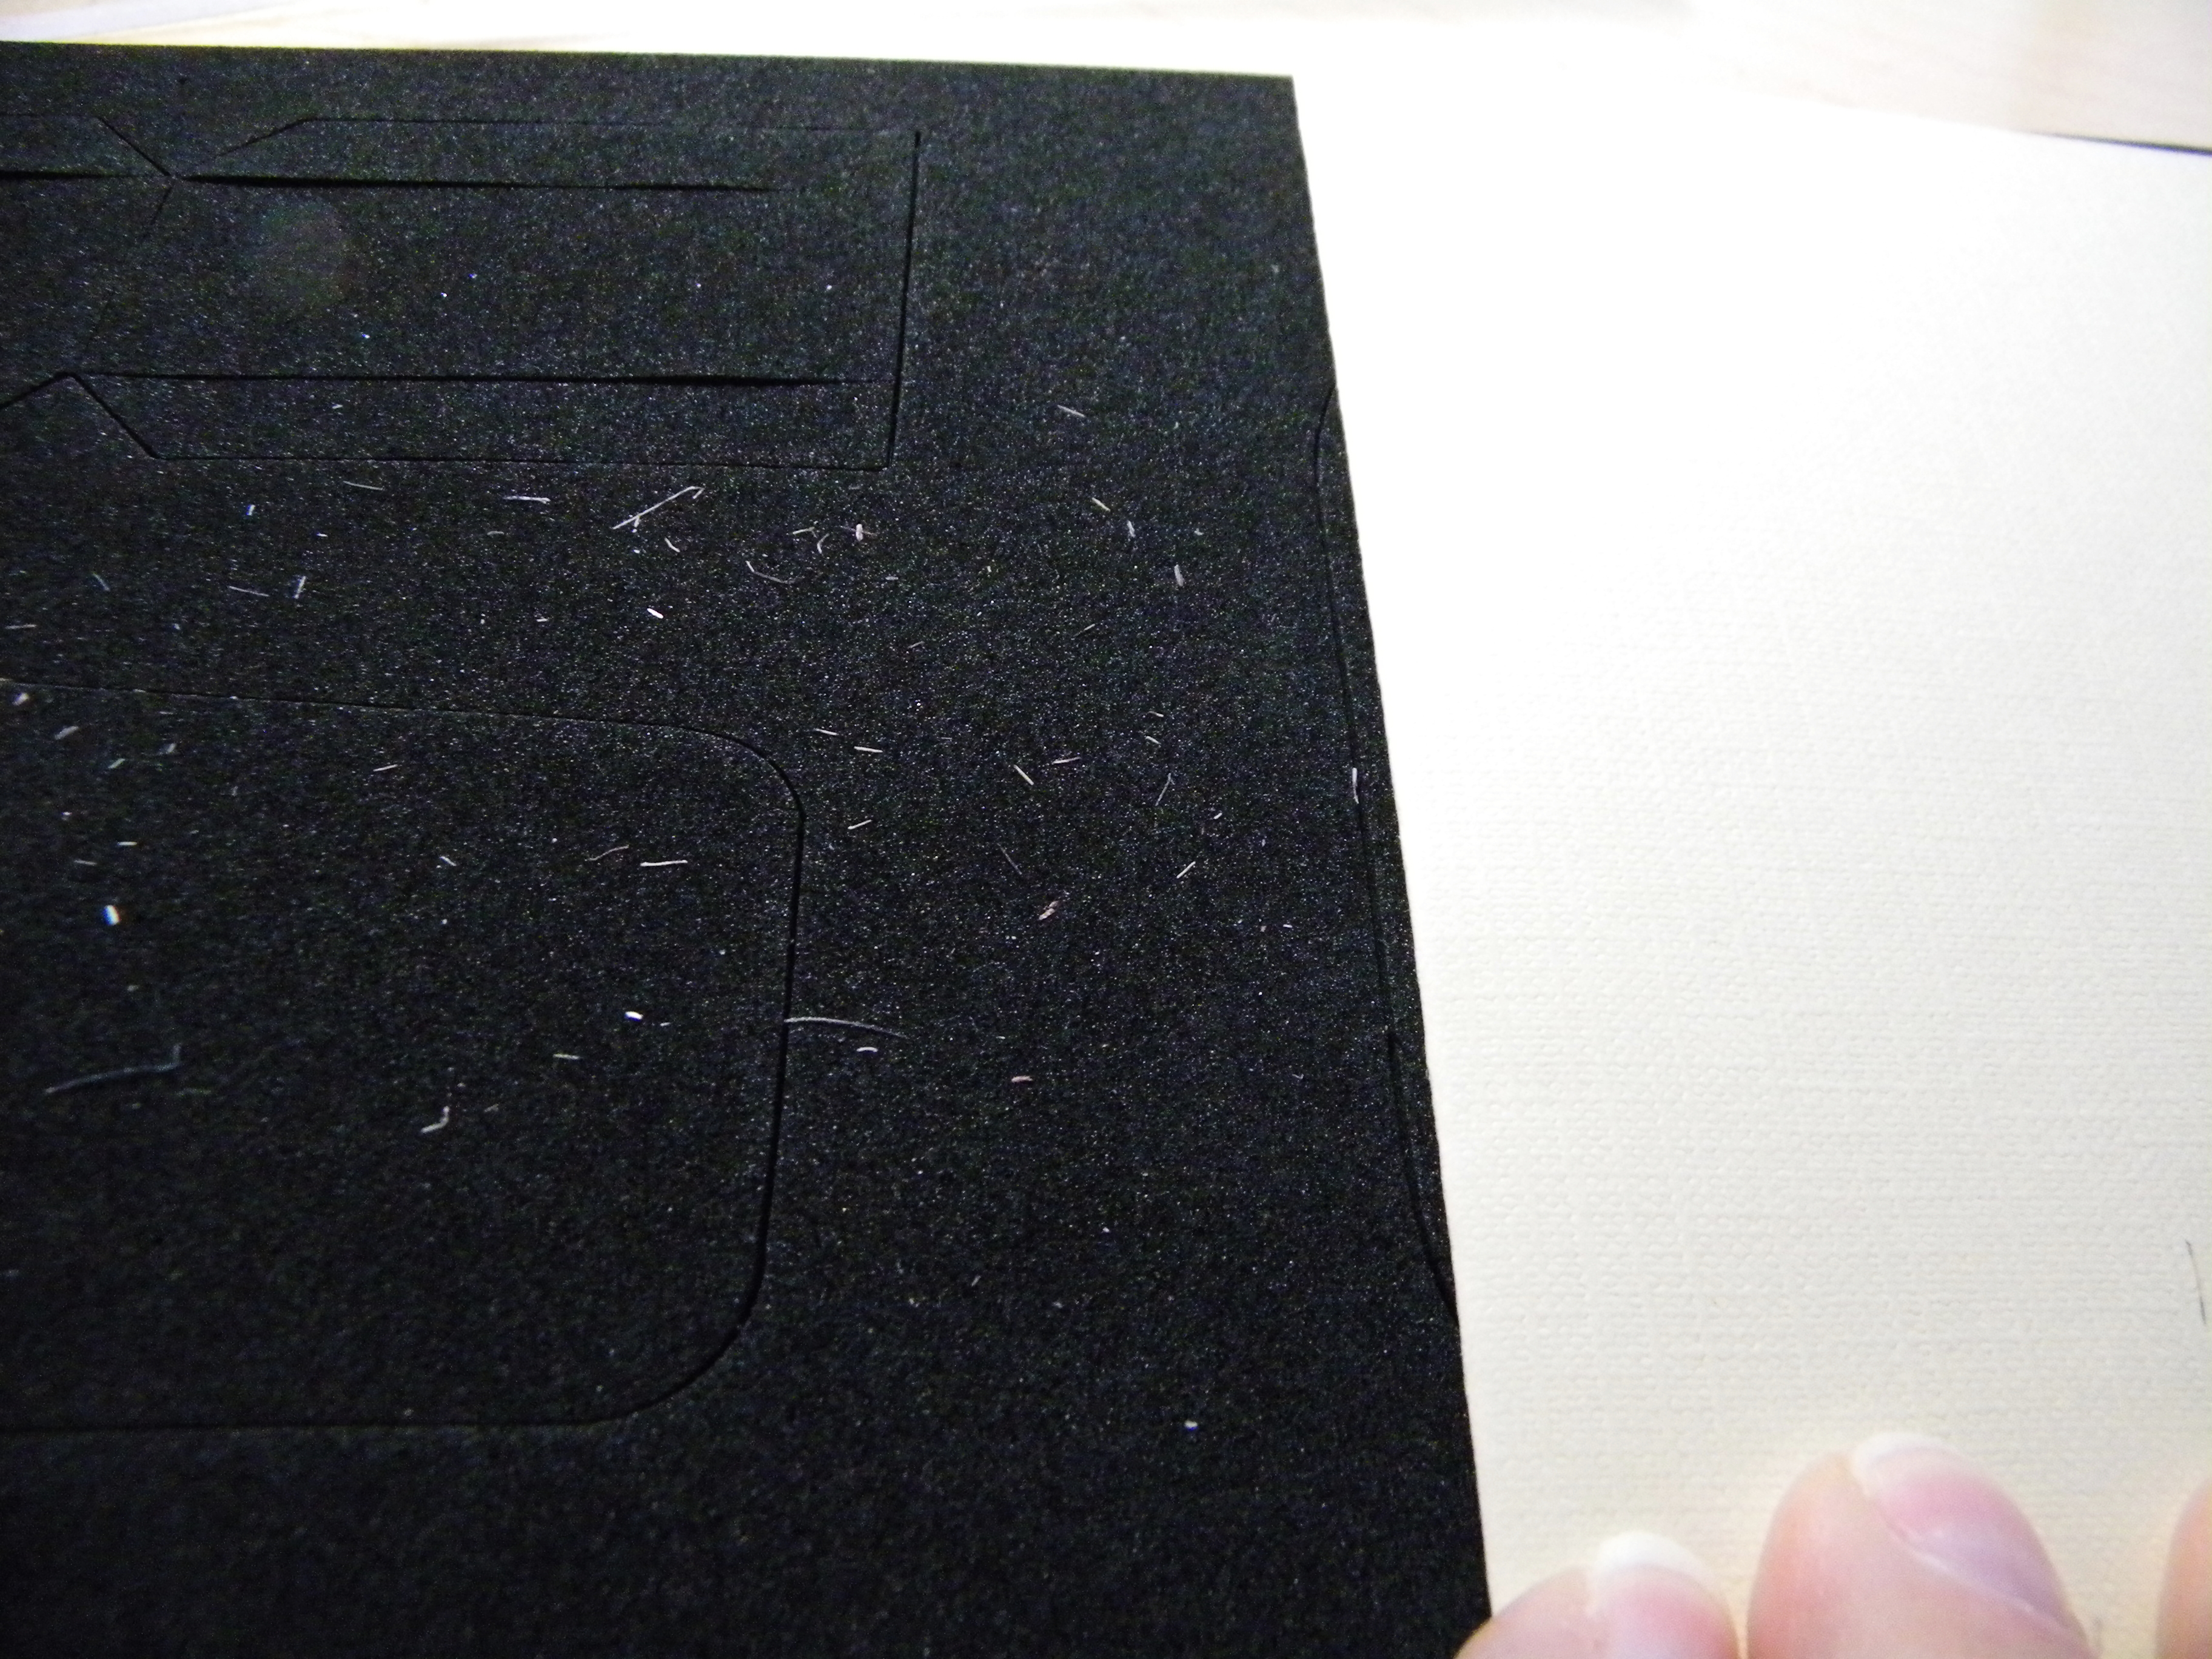
I tucked the stamp set inside the box. Then I cut a piece of adhesive-backed magnetic sheet and adhered it inside the box.
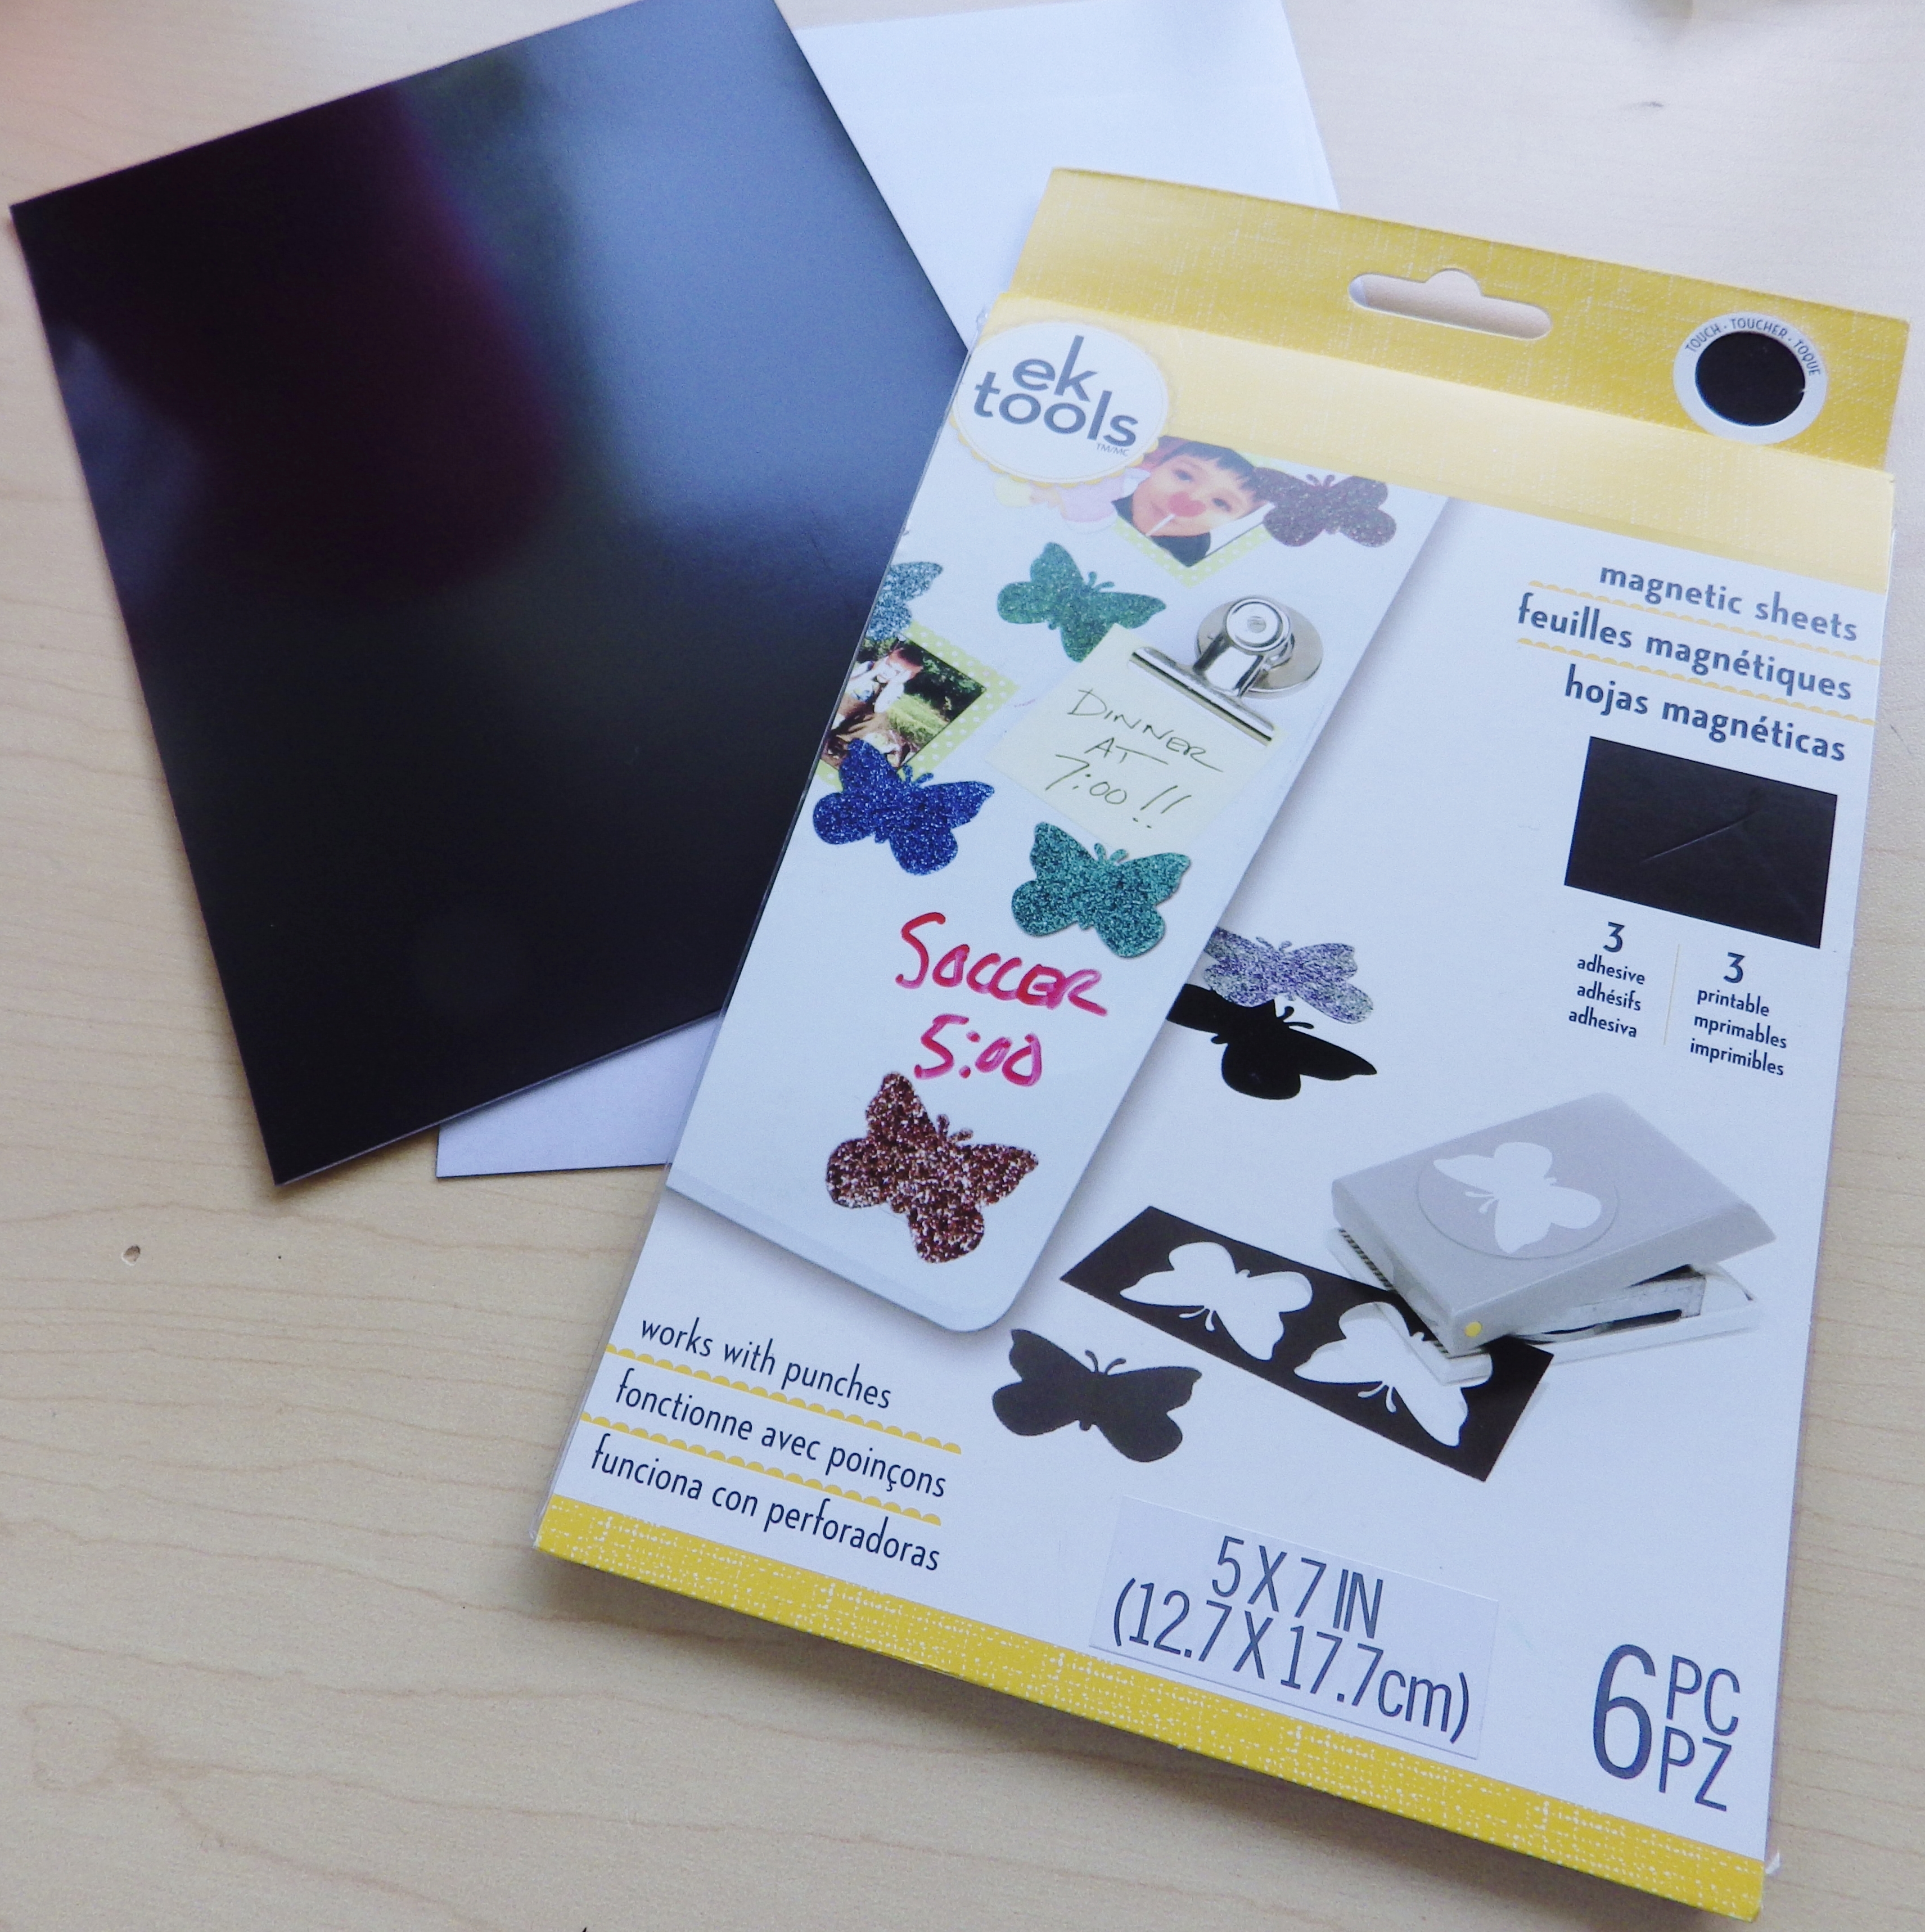
The magnetic side holds the dies in place. The stamps stay tucked in on the other side, where both are safe and secure.

I trimmed the sheet that came with the stamps and tucked it inside the front pocket.

And, I used my label maker to create a label for the side.
 Now they all fit nicely on my shelf with my Stampin’ Up stamps. Thanks for the great idea, Jill!!
I do not sell Stampin’ Up products, but if you would like to purchase any of the other storage options mentioned in here, let me know. I can order them for you!

I am on the Elizabeth Craft Designs Blog today with instructions to make this adorable card … check it out!
The May Designers Challenge at Elizabeth Craft Designs is to create a standard-size “flat” card — one that does not use the fabulous accordion or pop-up dies Elizabeth Craft Designs is known for.
Frankly, I love to make flat cards because I mail them and I get tired of having to pay extra to mail thick cards.
Here’s the card I created ….
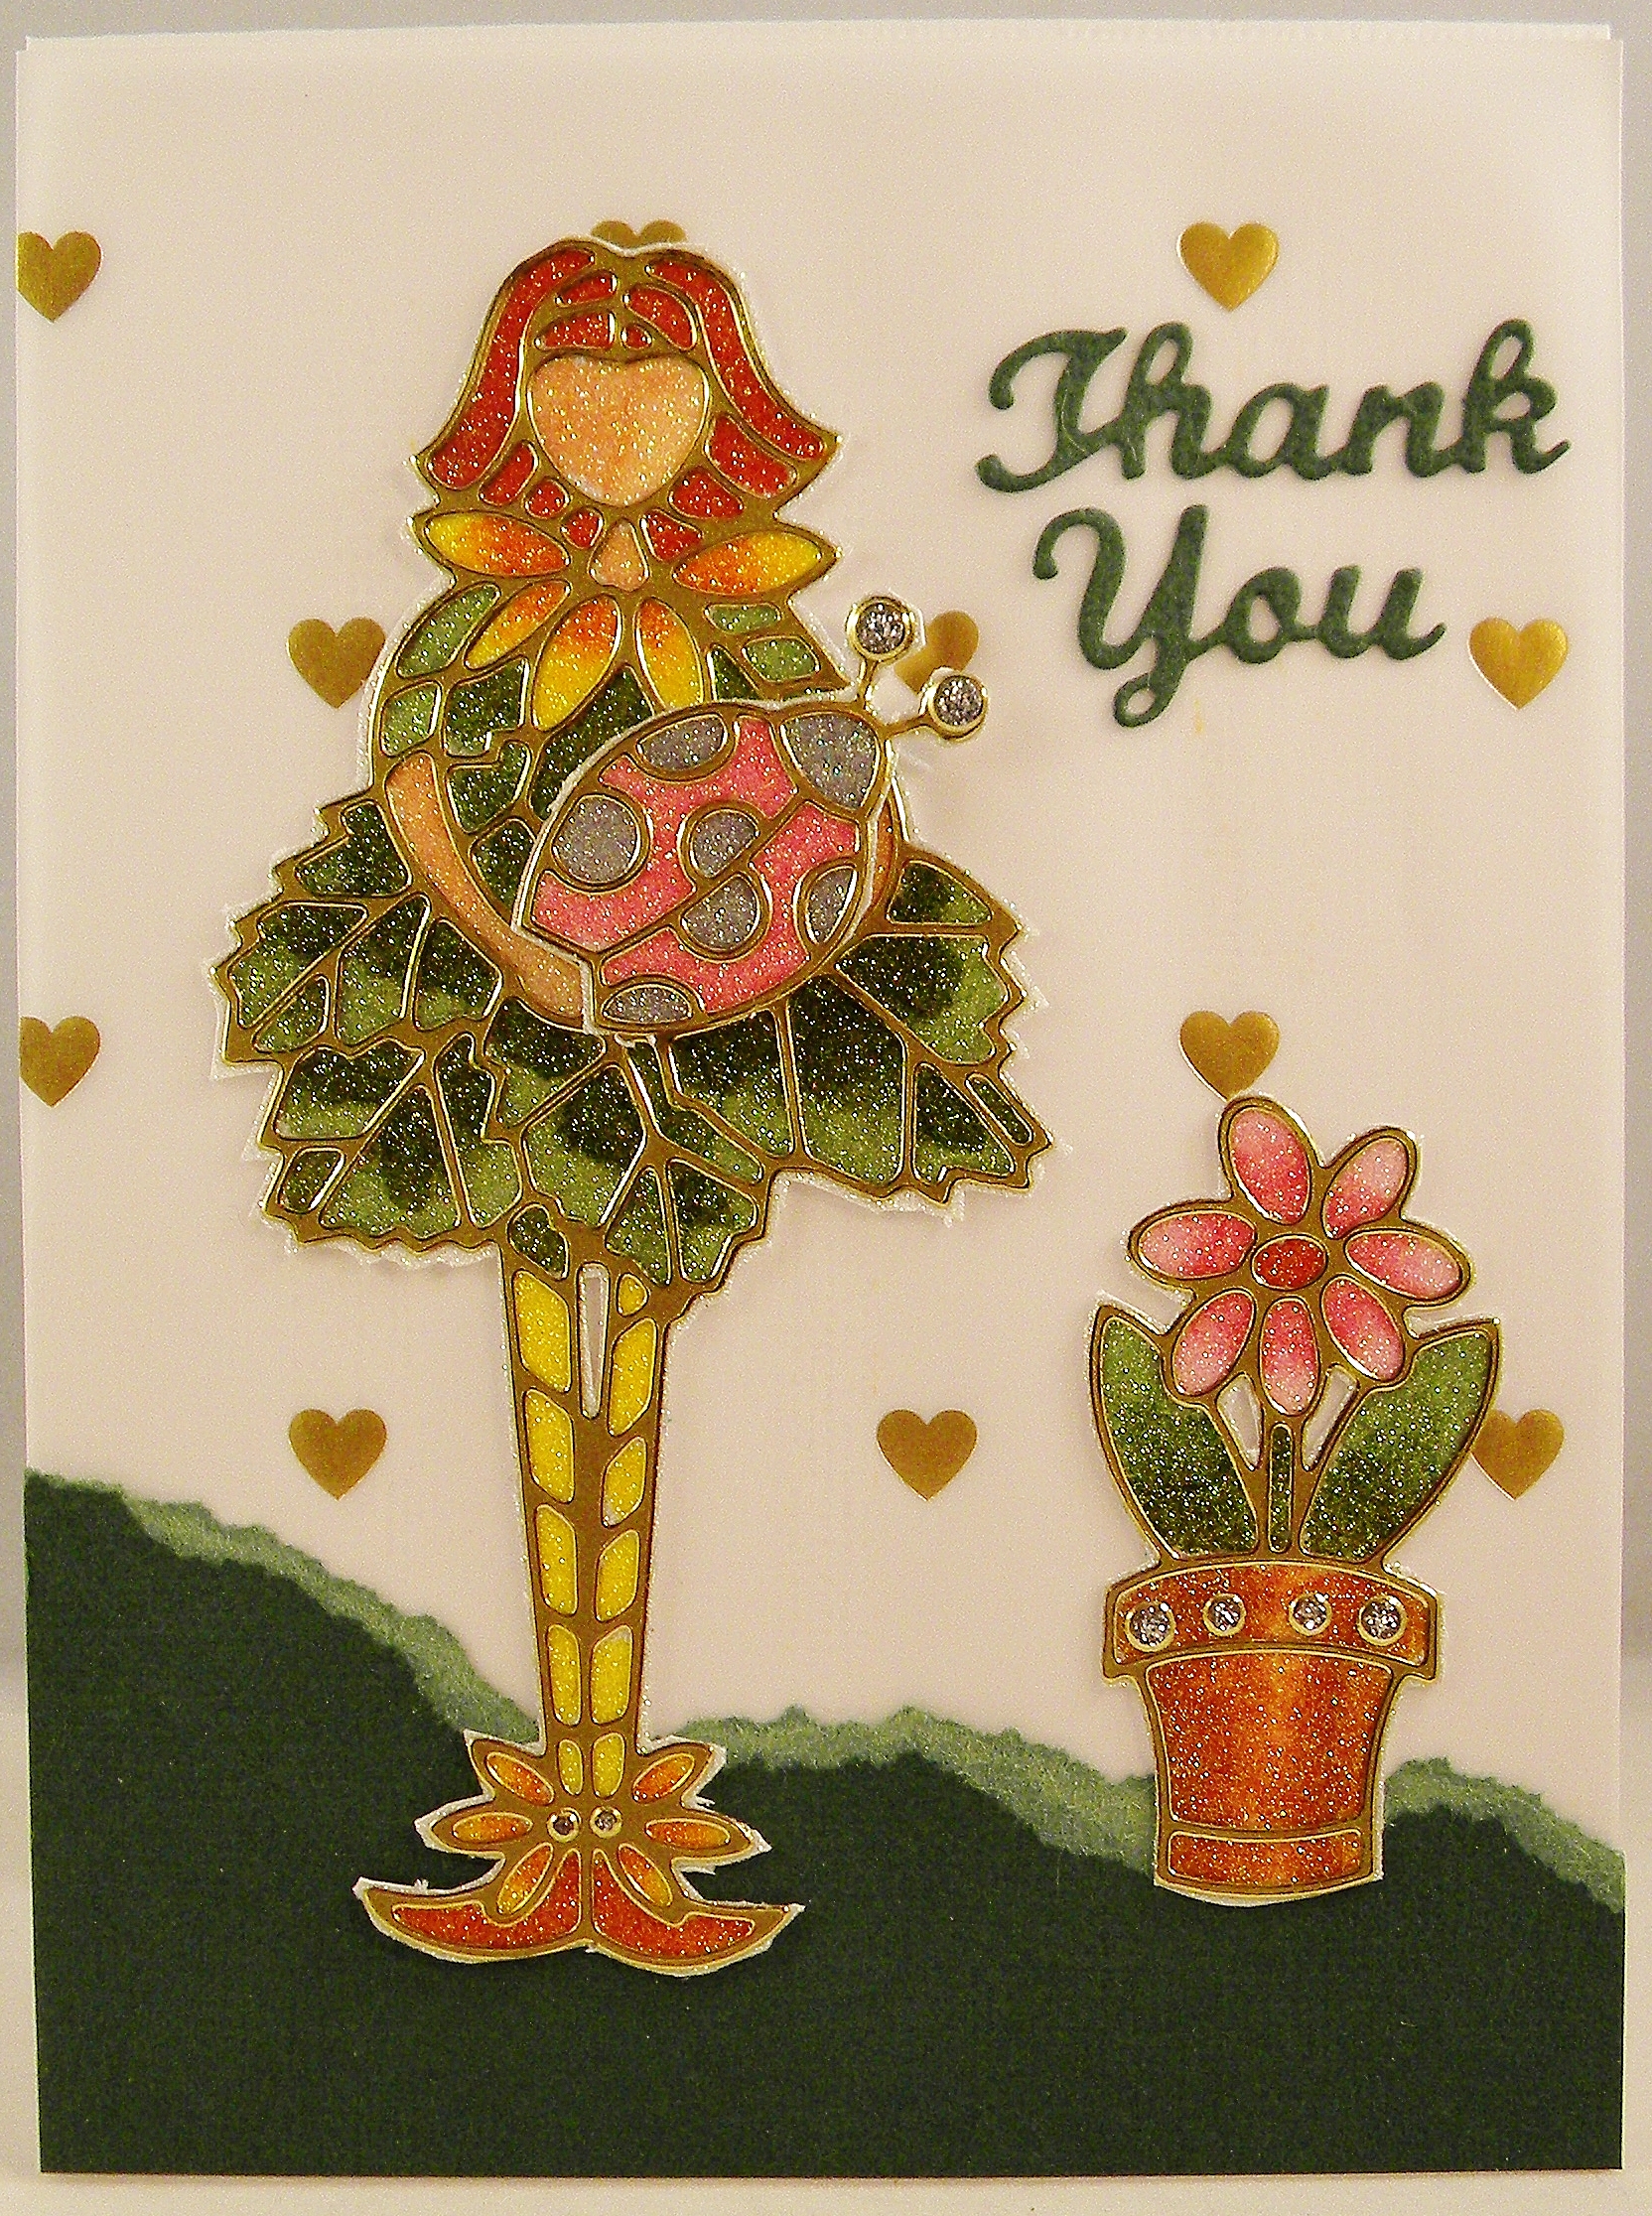
This one uses the the new Flower Cuties Peel-Off stickers, the Thank You die, Glitter Dots and Silk Microfine Glitter from Elizabeth Craft Designs; cardstock from American Crafts; vellum paper from Stampin’ Up and Copic markers.

I started by covering the Peel-Offs in Silk Microfine Glitter and then coloring them with Copic markers.
![]()
I created the card base and attached the vellum (I hid the adhesive behind the images.) I added a torn piece of cardstock for grass.
Then I cut out each piece and applied them to the card.
I took one of the extra ladybugs and used dimensional foam adhesive to attach it on top of the one the little girl is holding. The second one I placed on the inside of the card.
Then I added Glitter Dots to the antennae, floral ankles and flower pot. I think they add a cute touch.
Finally, I cut the sentiment out of cardstock with a die. I think she turned out pretty cute … what do you think?
![Blog Hop_ECD_2[6]](https://candyspiegel.files.wordpress.com/2014/04/blog-hop_ecd_26.jpg)


A friend asked me if I would make up a gift certificate for one of her customers. I wanted to make something really special, so I came up with these …
 Aren’t they adorable?!
Here’s how I did them …
 I started with the Canning Jars 3D die from Sizzix. I wanted to make a card with the die, rather than just cut out the jar image. So, I folded and scored a card and positioned it with the fold just inside the left side of the jar, like this…
Because this is a thick, steel-rule die, it will cut through two pieces of heavy cardstock at the same time, making this completely doable!
 Next, I cut out the jar lid out of Ranger’s adhesive-backed foil and attached them to the front of the jar.
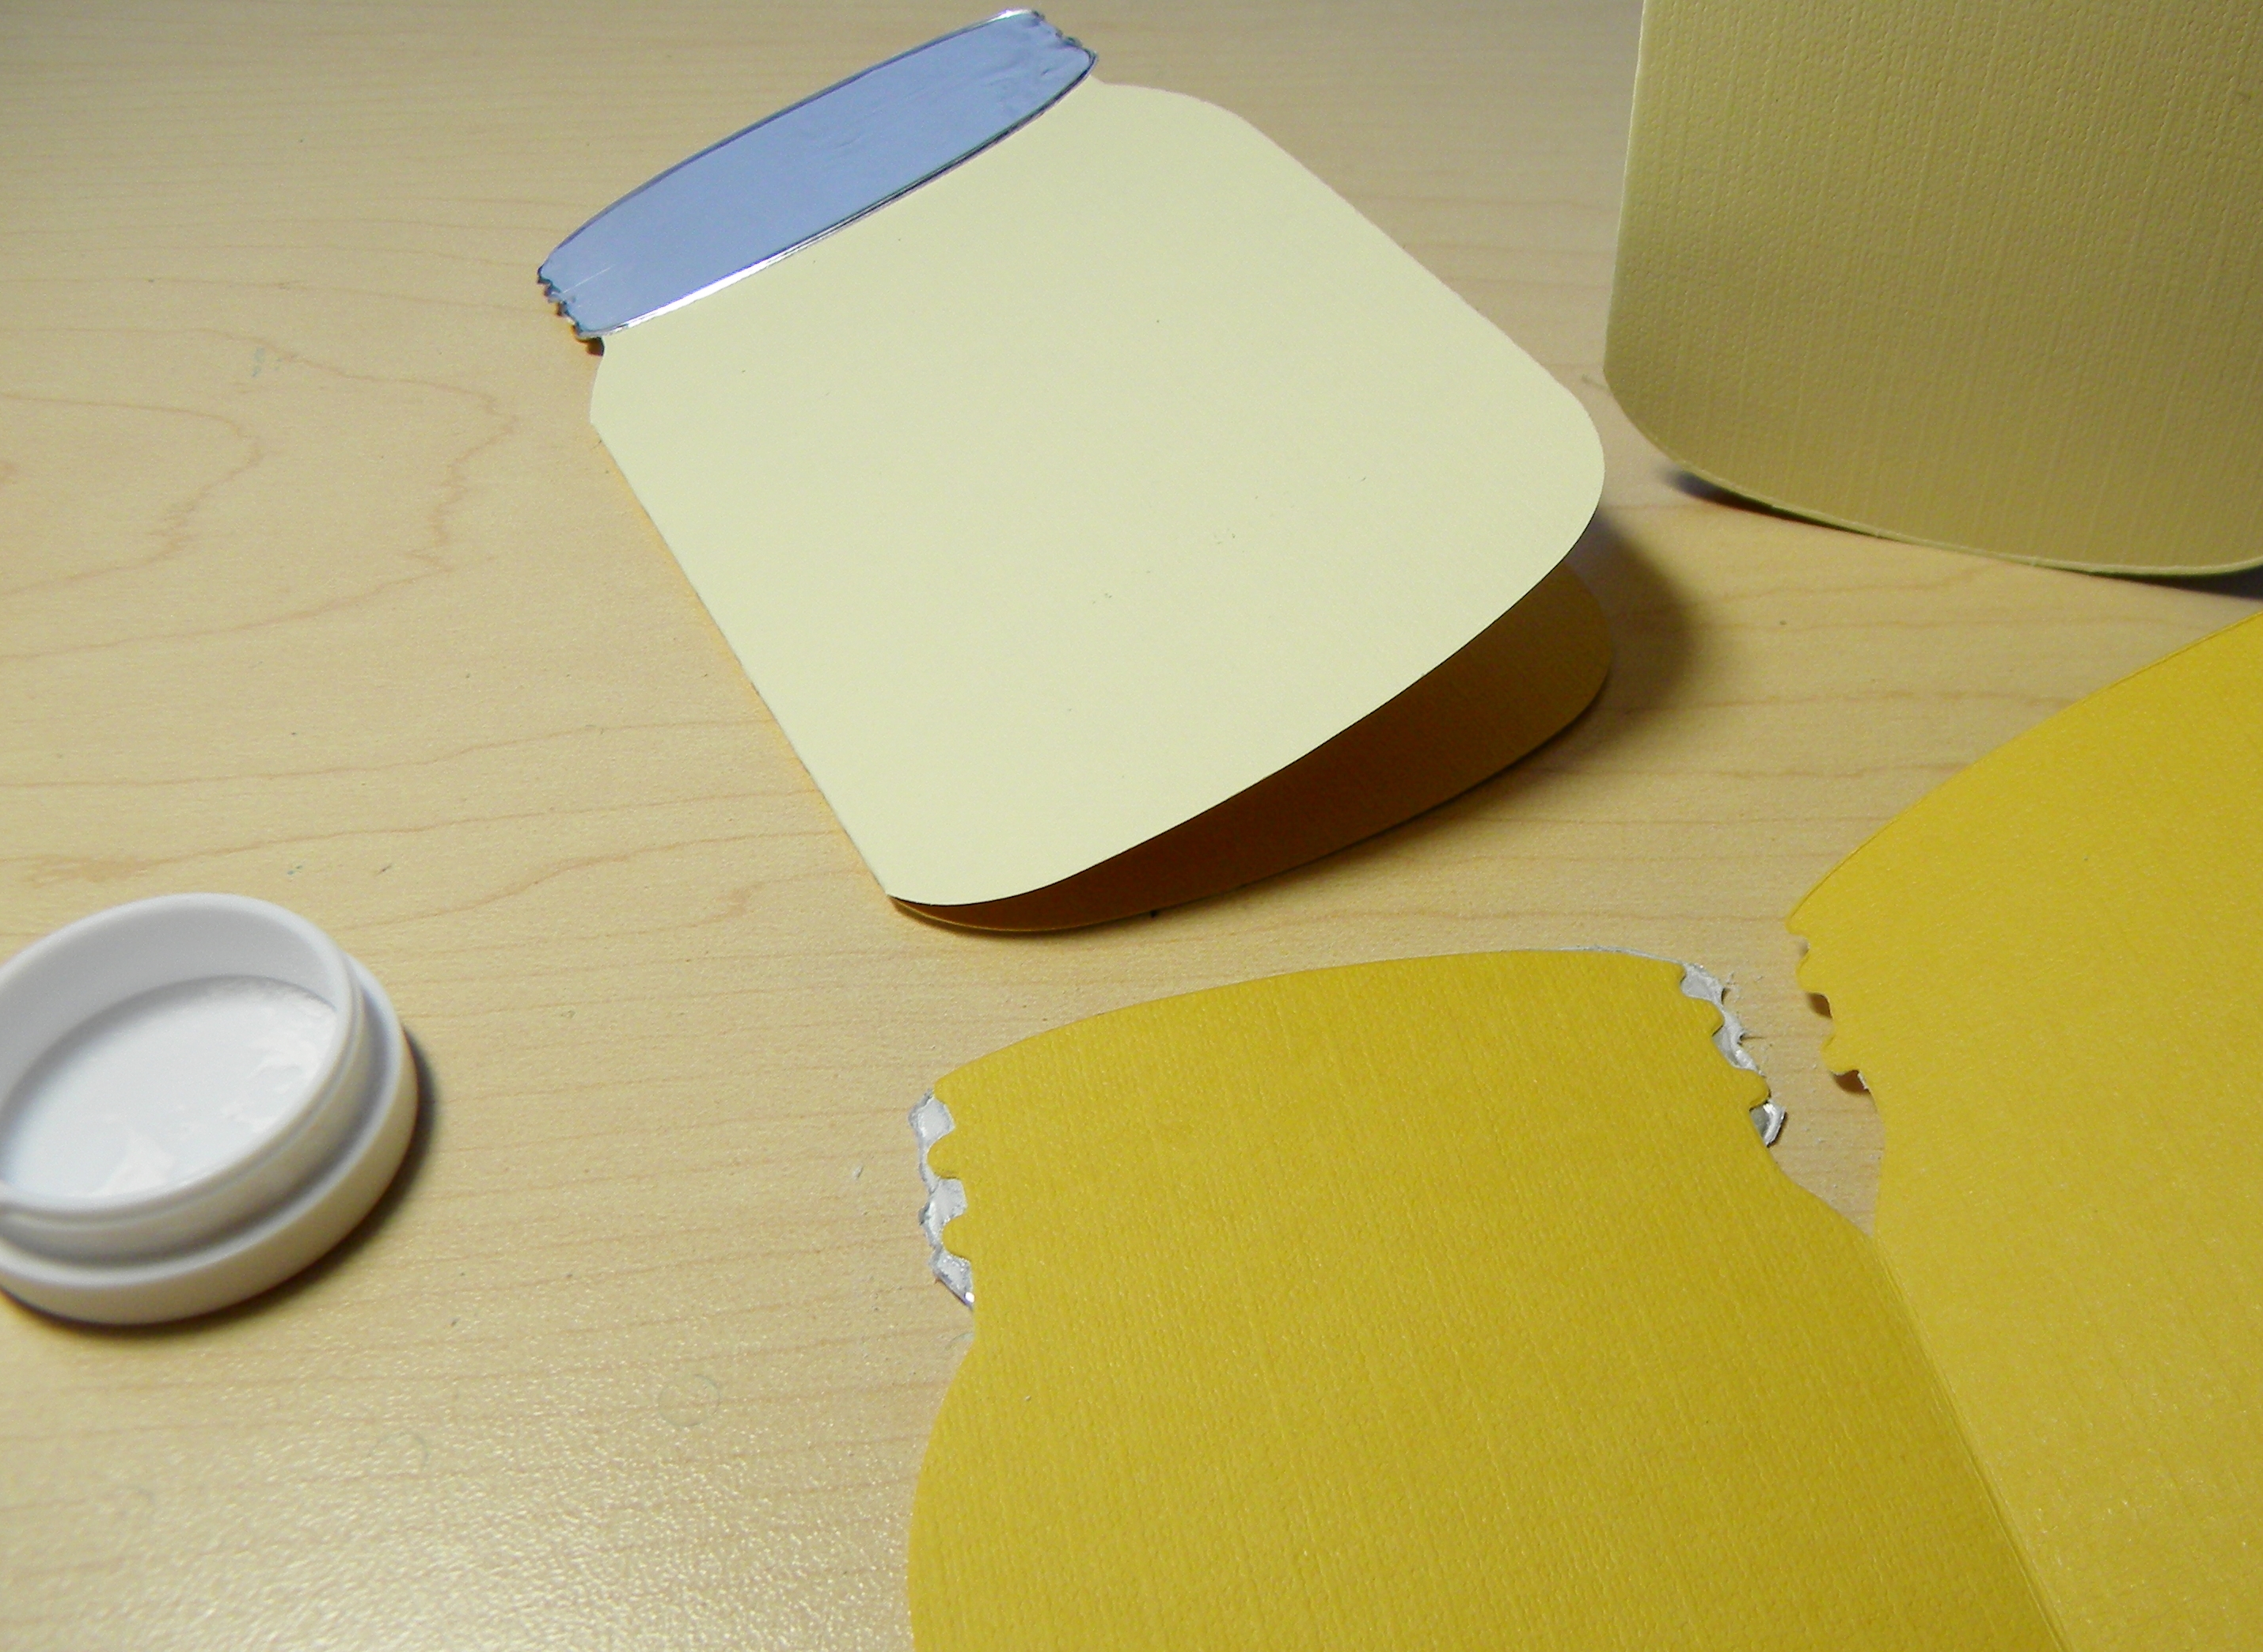 The lid is slightly larger than the card, which left a little bit of sticky on the backside. To fix that, I applied a little bit of baby powder to the edges to eliminate the sticky.
I then inked the edges of the jar with Vintage Photo Distress Ink.
 The gift certificate that I made barely fit in the jar so I made a little strip of paper and used the Tiny Attacher to attach the edges to the card. Then, the certificate just slips inside and is held in place. Perfect!
 I added a bit of lace from Stampin’ Up to the front with Art Glitter Designer Dries Clear Adhesive. The trick here is to put the dots of glue on the flowers, set it on the cardstock and leave it be for 5 minutes to allow the glue to work. Then, you can flip it over and trim off the edges to fit the jar.
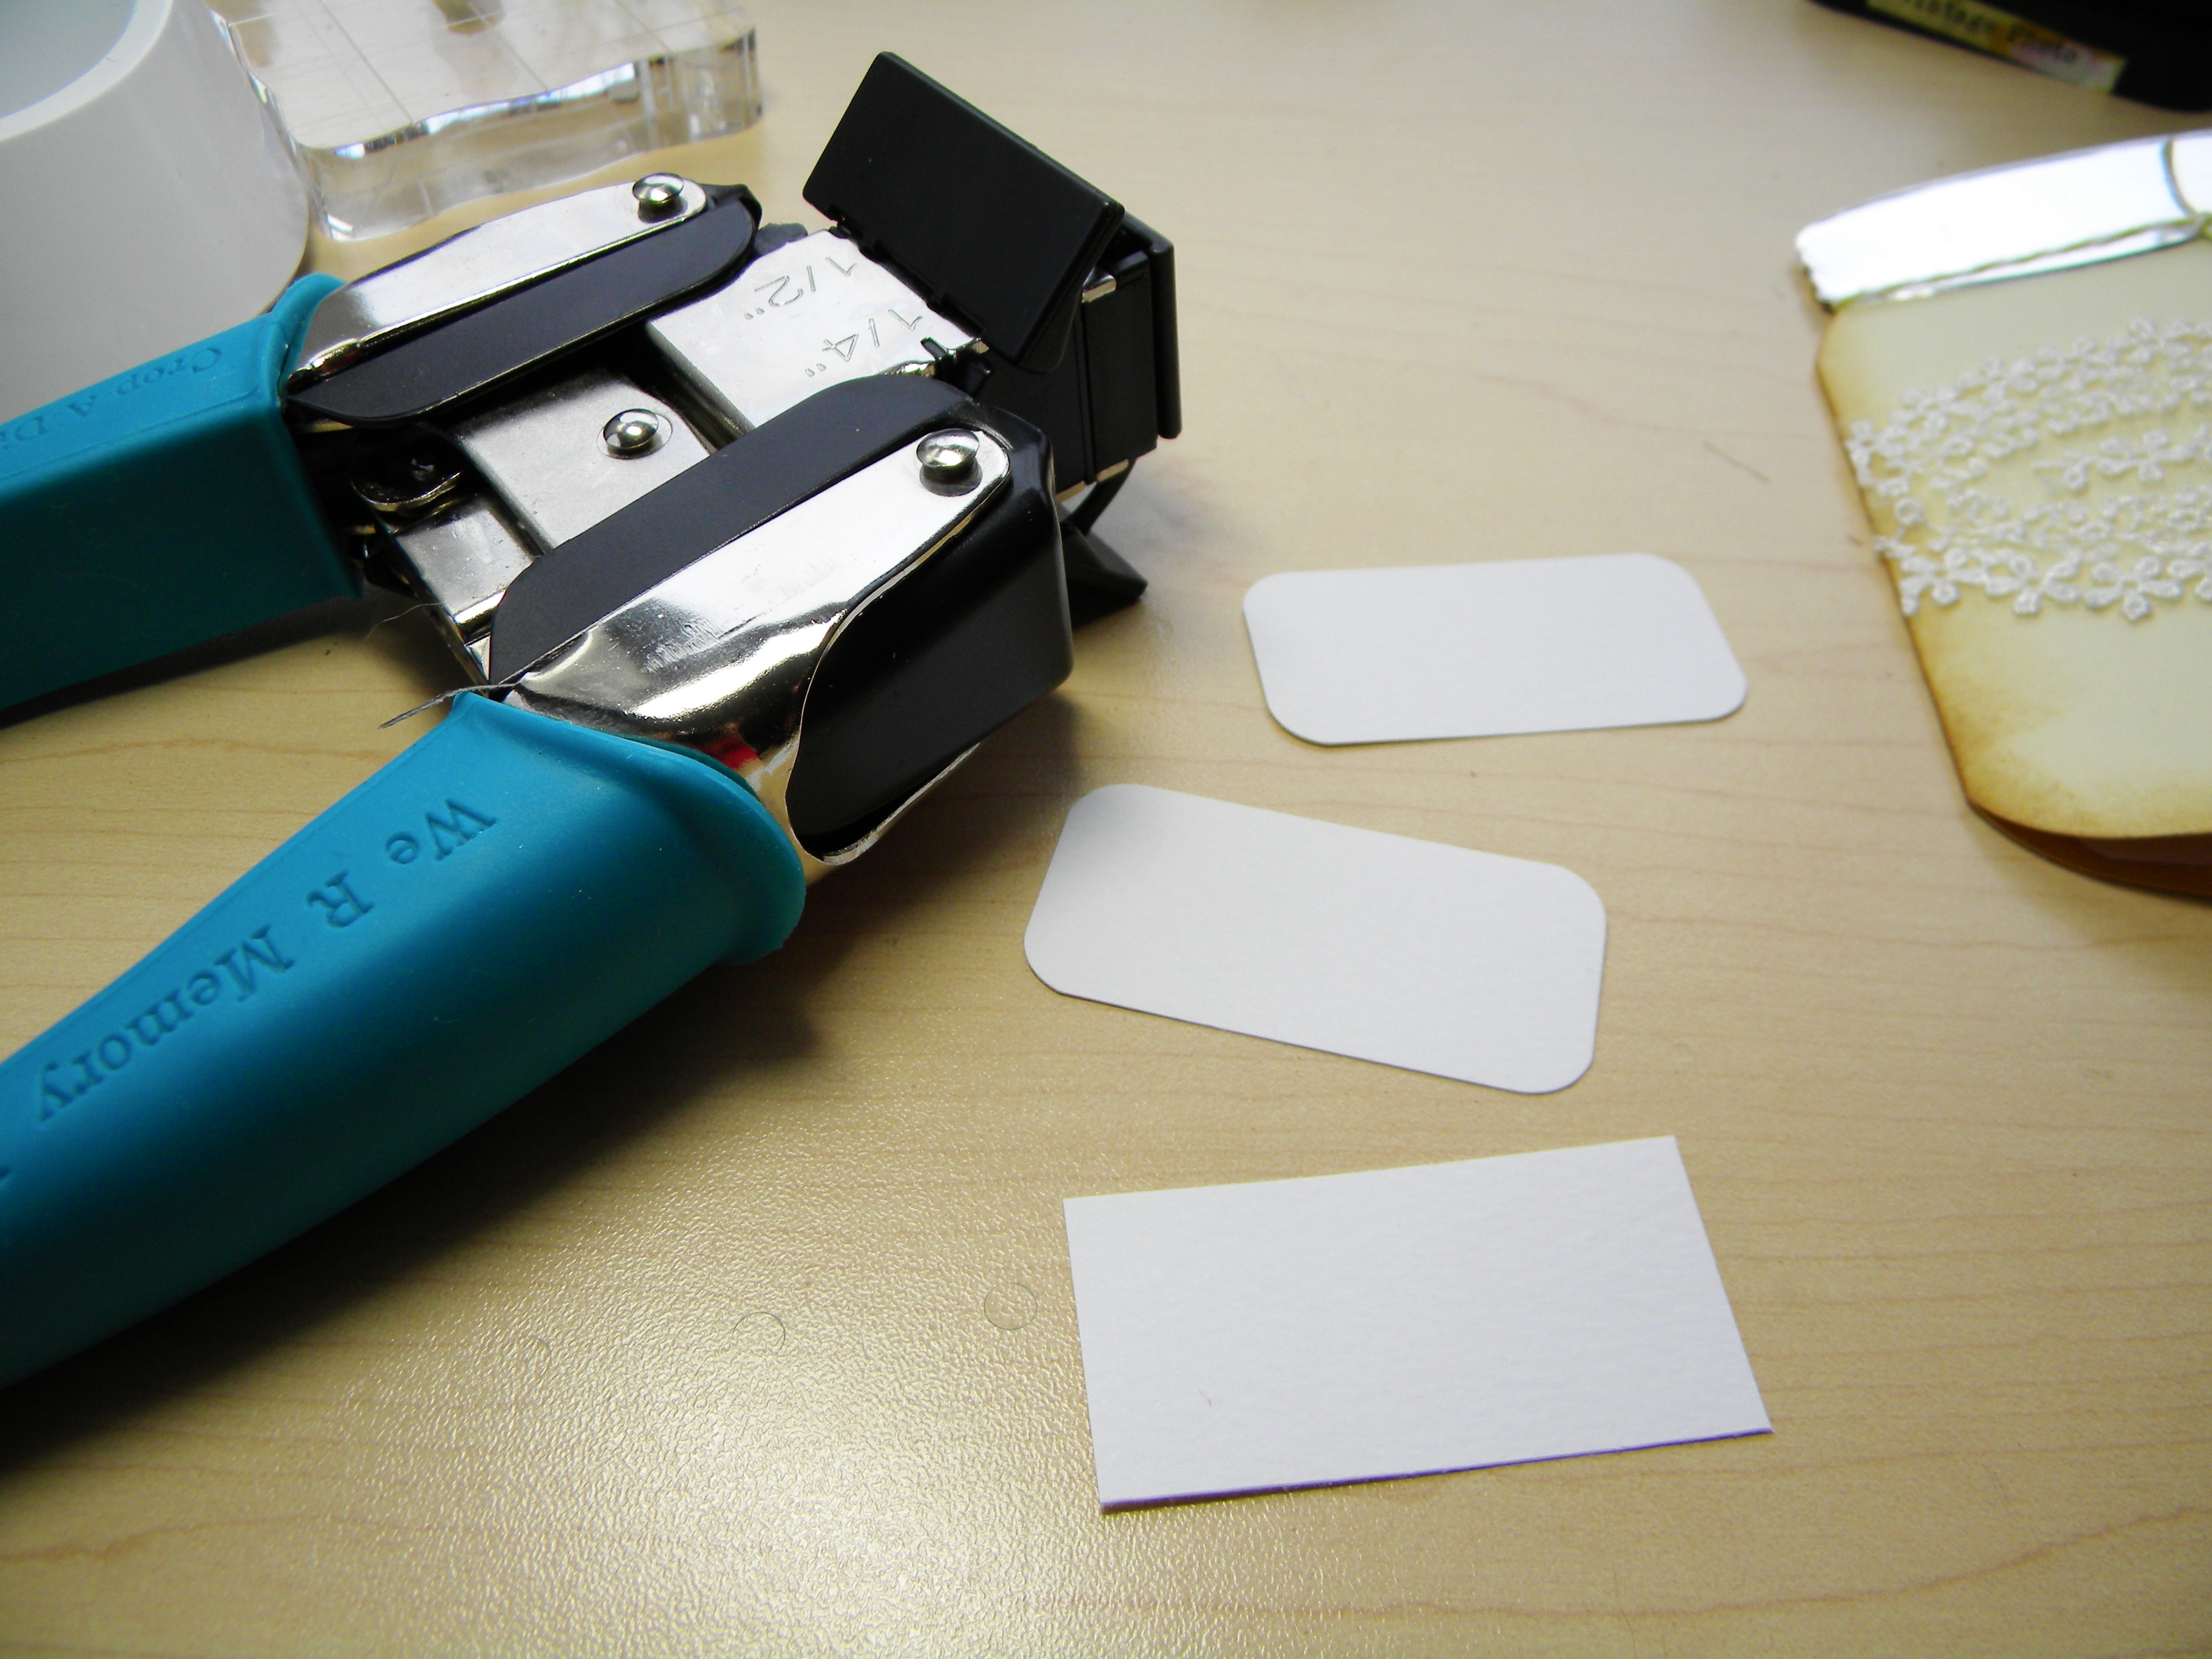
I tied a bit of bakers twine to the front side of the lid and then created a label. I cut cardstock 2″ x 1″ and then rounded the edges.
Next, I stamped Just For You (from Stampin’ Up) and two dotted stripes from Tami Potter’s stamp from Impression Obsession.

 I added a little ink on the edges and adhered them to the lace.
 And, it all fits inside of card-sized envelope.
Who wouldn’t want to receive a gift card like this??!!?
