Wedding: Pen Jar

My sister had a theme wedding. As a world traveler (she’s been to all but one continent and all of the states), she wanted to bring her passion to travel to her wedding.

We made place cards using map paper to help people find where in the world they will be sitting. Each table was a different place she has visited … (more on the centerpieces to come).

In leu of a guest book, she bought a map and pens for guests to sign. Naturally I couldn’t let the pens just “hang out” on the table, so I made her a coordinating little jar to hold them in.

The label was a little large for the jar, so it had a few wrinkles, but it turned out really cute, don’t you think? Here’s how I did it:

My secret weapon is Elizabeth Craft Designs Clear Double Sided Adhesive. If you’ve followed me before, you know how much I love this stuff. It sticks to anything, is crystal clear and comes in all sorts of sizes. I applied it to the back of the map paper (Authentique) and then ran it through my Big Shot with a Tim Holtz label die. This way, adhesive wouldn’t show from one side of the jar to the other.

I then added a black stamp die cut, also from Tim Holtz/Sizzix, to each label. I topped it off with a sticker from Little B.

And, on the other side …

I finished it off with a bit of ribbon from American Crafts and some travel charms from Art C.

I sure hope she enjoys this journey!

Discovery! Enameled Metal

metal_technique_Candy_Spiegel9

I love when I discover a new technique. It does not matter if it is an old technique that everyone in the world already knew about … it is new to me and so, I have to share!

metal_technique_Candy_Spiegel

I purchased these little metal pieces from The Green Door Studio in Brighton to use on some shutters and windows I was repurposing. I knew they would be easy to transform …

metal_technique_Candy_Spiegel2

I used alcohol inks and it was pretty, but it was not quite the look I was going for, so I decided to paint over them.

metal_technique_Candy_Spiegel3Now, many probably know that acrylic paint does not go over alcohol ink well, but I did not. And this is where the magic began …

metal_technique_Candy_Spiegel4

When the paint dried, even more of the color came through and I had this beautiful arrow filled with depth and texture …

metal_technique_Candy_Spiegel5

Then, I decided to gloss it up a little with a thick layer of Glastique.

metal_technique_Candy_Spiegel9

Resulting in this beautiful piece …

Here are some other pieces I did using the same technique.

metal_technique_Candy_Spiegel7metal_technique_Candy_Spiegel8metal_technique_Candy_Spiegel6

Ready for Summer?

This month’s challenge at Scrap It Girl is to create a project using arrows, numbers and the color blue.

I decided to make this tag …

Scrap_Candy_Spiegel_Feb

I started with a plain office tag. I used a layer of Texture Paste and a stencil to create the background.

Scrap_Candy_Spiegel_Feb2

Once dry, I covered it with a few layers of Distress Ink and some water … blotting randomly. Then I edged the tag with Walnut Stain Distress Ink and got to decorating …

The papers are from Graphic 45. The bicycle was a gift from a friend. The numbers are from Tim Holtz and the arrow is a die cut using a Tim Holtz die. I added ribbon to the top, fibers at the bottom (another gift from another friend) and a little bit of bling.

Scrap_Candy_Spiegel_Feb

Now it’s your turn … create a project — in can be a card, tag, ATC, scrapbook page, home-decor project or whatever else you want to do — using numbers, arrows and the color blue. Submit it to the Scrap It Girl website and you could win a great selection of prizes!

Mega-Flakes for Mega-Fun

048I’ve been playing … I recently discovered IndigoBlu, a stamping company from Great Britain. One of the products they offer is Mega-Flakes, a jar of multi-colored leafing. I realize leafing is nothing new, but I have never tried it before. However, when I saw these colors from IndigoBlu, I HAD to try it.

megaflake2


There are two ways to use this product … either with glue or with double-sided adhesive. Not wanting to buy another adhesive, I initially tried the two I already had … Art Glitter Designer Dries Clear Adhesive and Best Glue Ever. The Art Glitter glue dried before I covered the entire surface with the flakes. The Best Glue Ever left everything sticky. So, I ordered the FlitterGlu made by IndigoBlu and designed to use with the flakes. It is an amazing glue.

Simply squeeze a bit onto a sponge (I used one of the Distress Ink Blending foams) and use a plastic knife to work the glue into the sponge. Then wipe it on a die cut or rubber stamp (stamp the image onto paper and then wash your stamp if using a stamp) and then cover with flakes. The glue remains tacky forever — even a few days, so you do not have to hurry to cover it with the flakes. Push the flakes into the adhesive and then use a Scoochy Sponge or stencil brush to brush away the excess, which you pour right back into your jar. This is the technique I used to cover the chipboard hot-air balloon at the top.

047You can also use double-sided adhesive. Cut your cardstock slightly bigger than the die you are cutting (I used a die from Tim Holtz). Cut a piece of double-sided adhesive the same size (I used the new transparent sheets from Elizabeth Craft Designs. They are as strong as Scor-Tape, but the backing is much thinner so it cuts nicely with dies) Peel off one side of the protective backing from adhesive and attach it to the cardstock. Run it through the die-cutting machine. Peel off the other piece of backing and cover with flakes. Use the Scoochy Sponge or a stencil brush to take off the excess and that’s it. Super easy! And I love how you don’t see the lines between the flakes … just an amazing mix of smooth color.

Here’s the page I created using these new products and techniques …

045

What do you think?

I have all of these products for sale in my store … click on the tab at the top to check them out.


Distress Stain Spritz

Tim Holtz recently released Distress Spray Stain. I think this is awesome — I am much more apt to use sprays over the original stain dauber bottle. However, I really didn’t want to buy one more thing.

sprayWhen I saw the replacement tops for sale, it gave me an idea … I wondered if I could pour the stains I already have into an empty spritz bottle.

I e-mailed Tim and he assured me that it was the same formula and it should work to pour them into a spray bottle.

So, I ordered some empty bottles from Ranger and went to work.

misterThe hard part is getting the little dauber top off of the bottle of stain. I used my thumbnail to wiggle it out … working slowly and going around and around the top.

103

It is important to work the top off evenly. When I did the Forest Moss, I was watching the birds and wasn’t really paying attention to what I was doing. I lifted one side too high and when the dauber went, so did a lot of stain — on the desk, the floor, my hands and me.

10525858_10204428911870405_2906750491108975568_n

Fortunately, that was the only one I had trouble with!

106

I poured the stain into the bottle. Then I printed off Distress Ink labels from Ranger’s website. You can print your own set, here.

Then, I cut them out and ran them through my Xyron Sticker Maker and adhered them to the bottles.

107

Here’s my little collection.

Note: I did not do my metallic ones, since I am not sure how the bottle mixers will work. I decided I would rather buy the spray versions of those. But for the regular colors, it works perfectly!


Peeps in Pink

Peeps in Pink

Our challenge on the Mosaic Moments Design Team this time was to create a page with texture. I opted for a mixed-medial approach and provided you with step-by-step directions to create the background on Journella.

Click here to see it and cheer me on!

Challenge Issued

August’s challenge at Scrap It Girl is to create a project with arrows or numbers.

I opted for numbers and created this birthday card …

aug_Candy_Spiegel

The papers are from We R Memory Keepers.

The numbers stamp is from Tim Holtz.

I tried a new technique … cutting out canvas flowers.

IMGP0702

I used Tattered Florals and Tattered Leaves from Tim Holtz to cut out the canvas pieces. (The canvas is from DCWV).

IMGP0703

I then layered the cut pieces together and used a decorative brad to attach it to paper. Once attached, I glued the leaves on and fluffed the petals.

aug_Candy_SpiegelNow it’s your turn … create a project (a card, layout, home decor piece, party decor, or anything else) using numbers or arrows and post it here before the end of the month …

You could win an amazing package of prizes!

Good luck!


Searching for Spring

This winter has been cold and snowy and really, really long … I am not sure spring will ever come.

But that did not stop me from completing my Mosaic Moments assignment … a spring scavenger hunt.

SpringScavengerHuntbyCandySpiegel

I used lots of dies, a little glitter and Shimmer Sheetz to make the page springy.

For details, close up photos and more, click here … 

While you are there, cheer me on or leave a comment!

Focus, focus, focus

focus by Candy Spiegel

That’s what I keep saying to myself. It is my word of the year. The word that will keep me on track, reduce my stress and allow me to make my business a success.

It is also a word I have trouble “focusing” on. I sit down to make a card. I glue on a flower, cut a piece of paper, then decide I need to look something up online, check my e-mail, play a few games, answer a question for a customer, get up to get a drink, do the dishes, collect eggs from the chickens, take a picture of the cats to post on Facebook, throw on a load of laundry and soon the whole day is gone and I have yet to finish one simple card. Then I forget about the card until I remember I have a deadline and then I stress about finishing it!

This may be my typical day, but I am sick of it. It is time to get my act together and FOCUS on getting things finished.

That is what I decided in December and again on January 1. It is now half-way through February and I am still working on staying focused. There are just so many distractions!

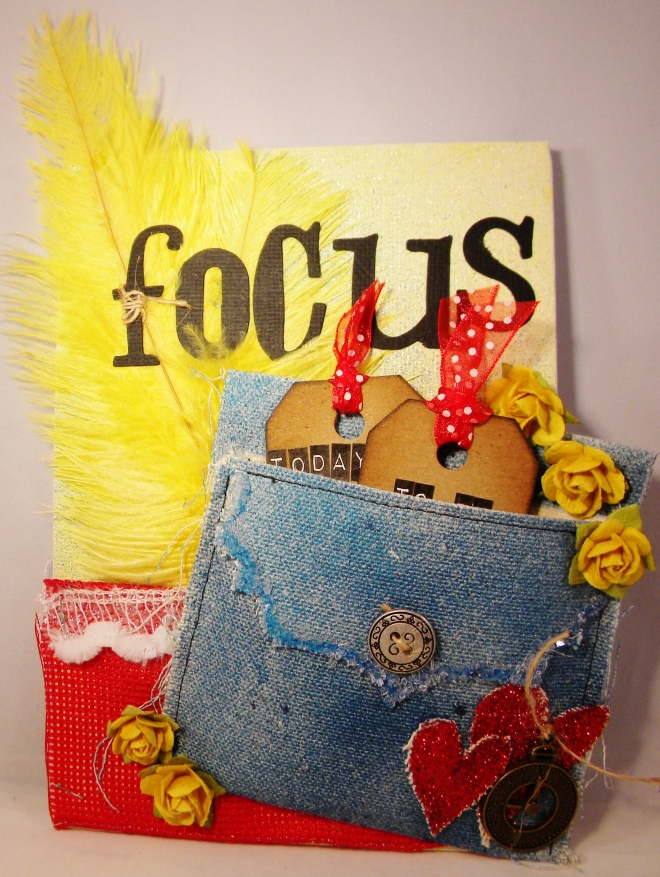
I thought if I kept the word in front of my face, it would help. So, I created this little 5×7 canvas in my favorite colors (they match my kitchen perfectly) to help remind me to focus.

focus 2 by candy spiegel
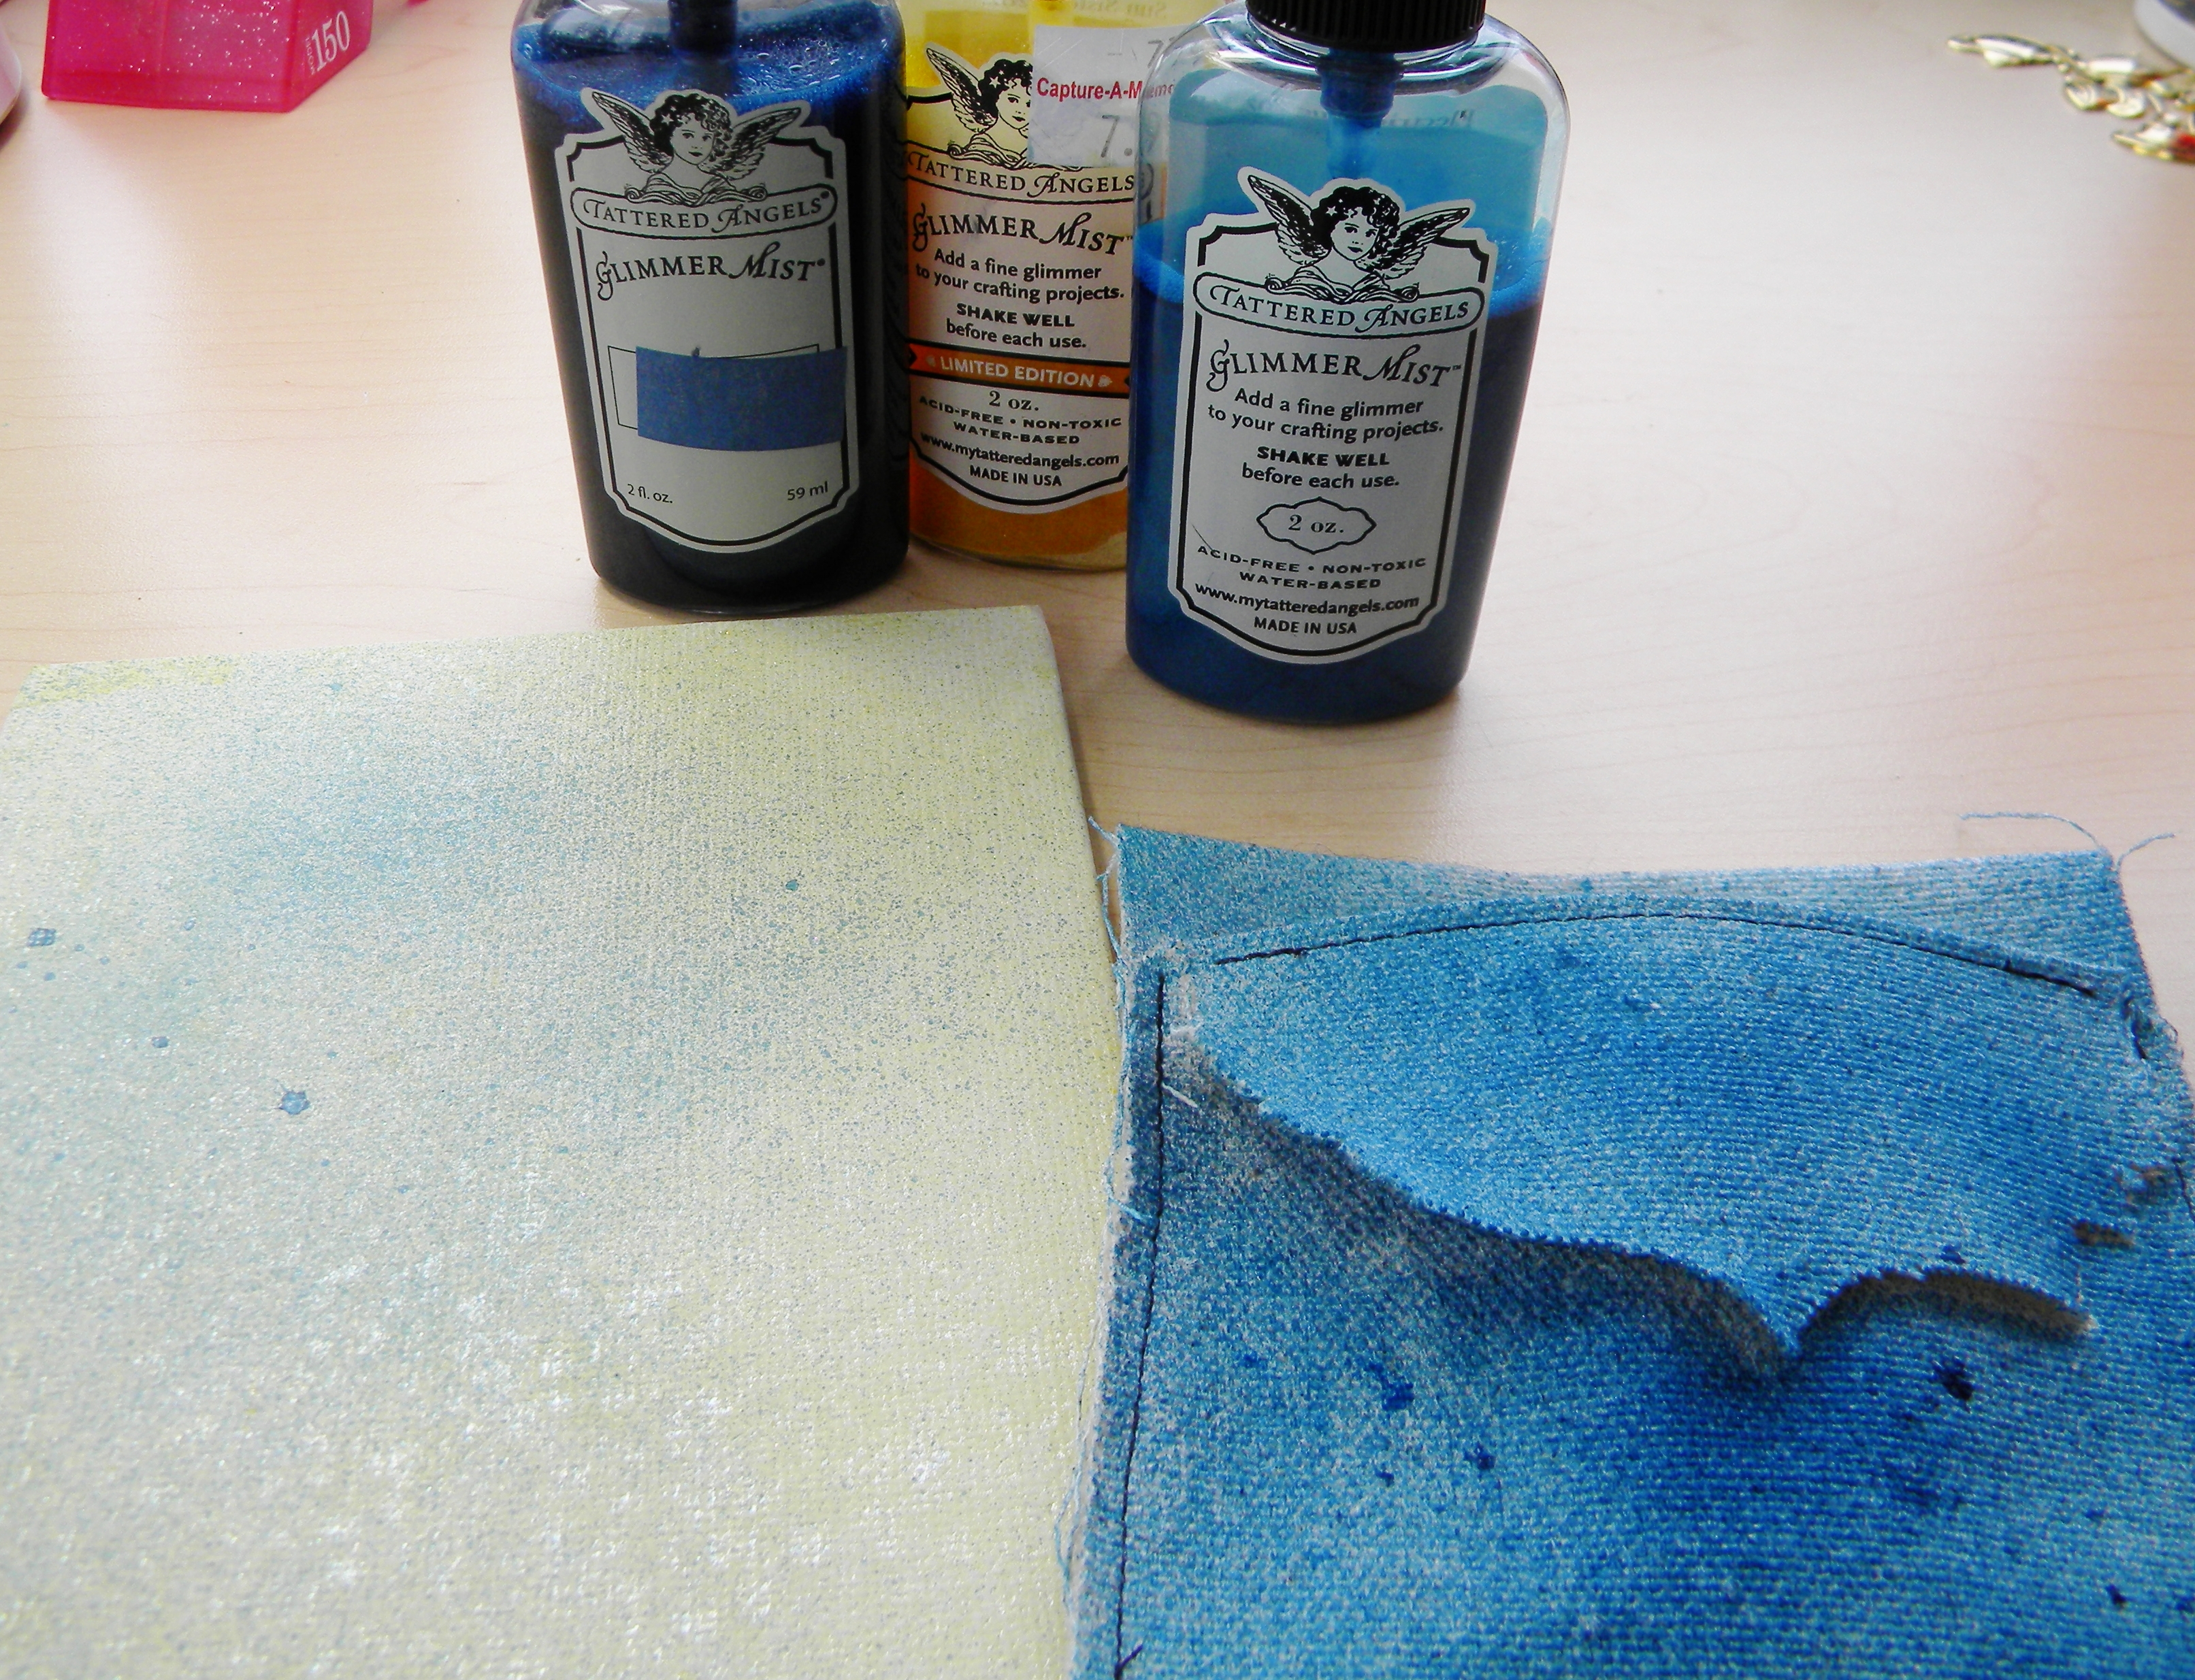
I started by spritzing a 5×7 canvas and a Linnie Blooms pocket with Glimmer Mists.

focus 1 by candy spiegel
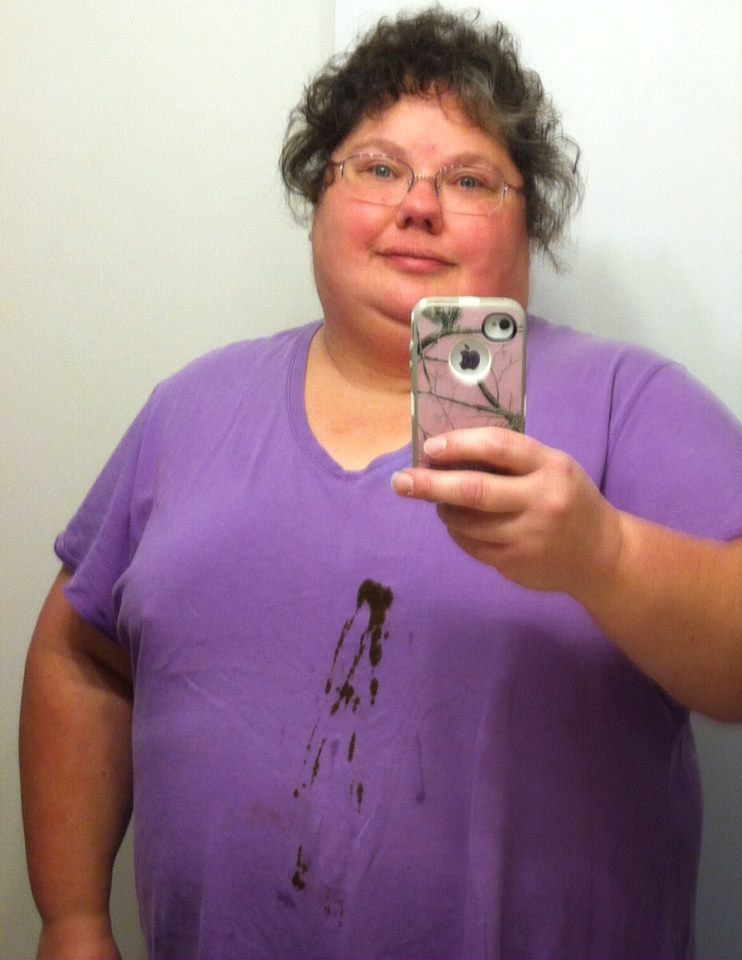
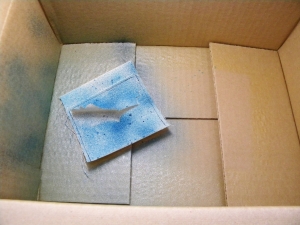
I put them in a box on the way to the recycle bin to contain the mess.

focus 3 by candy spiegelWhile those dried, I coated some Linnie Blooms hearts with Art Glitter Designer Dries Clear Adhesive. (I used my finger to spread it around so I got the entire heart).

focus 4 by candy spiegelThen I covered each heart in Art Glitter glitter. I use a coffee filter to collect my extra glitter. It doesn’t stick to the filter and then I can pour it right back in the jar.

focus 5 by candy spiegel


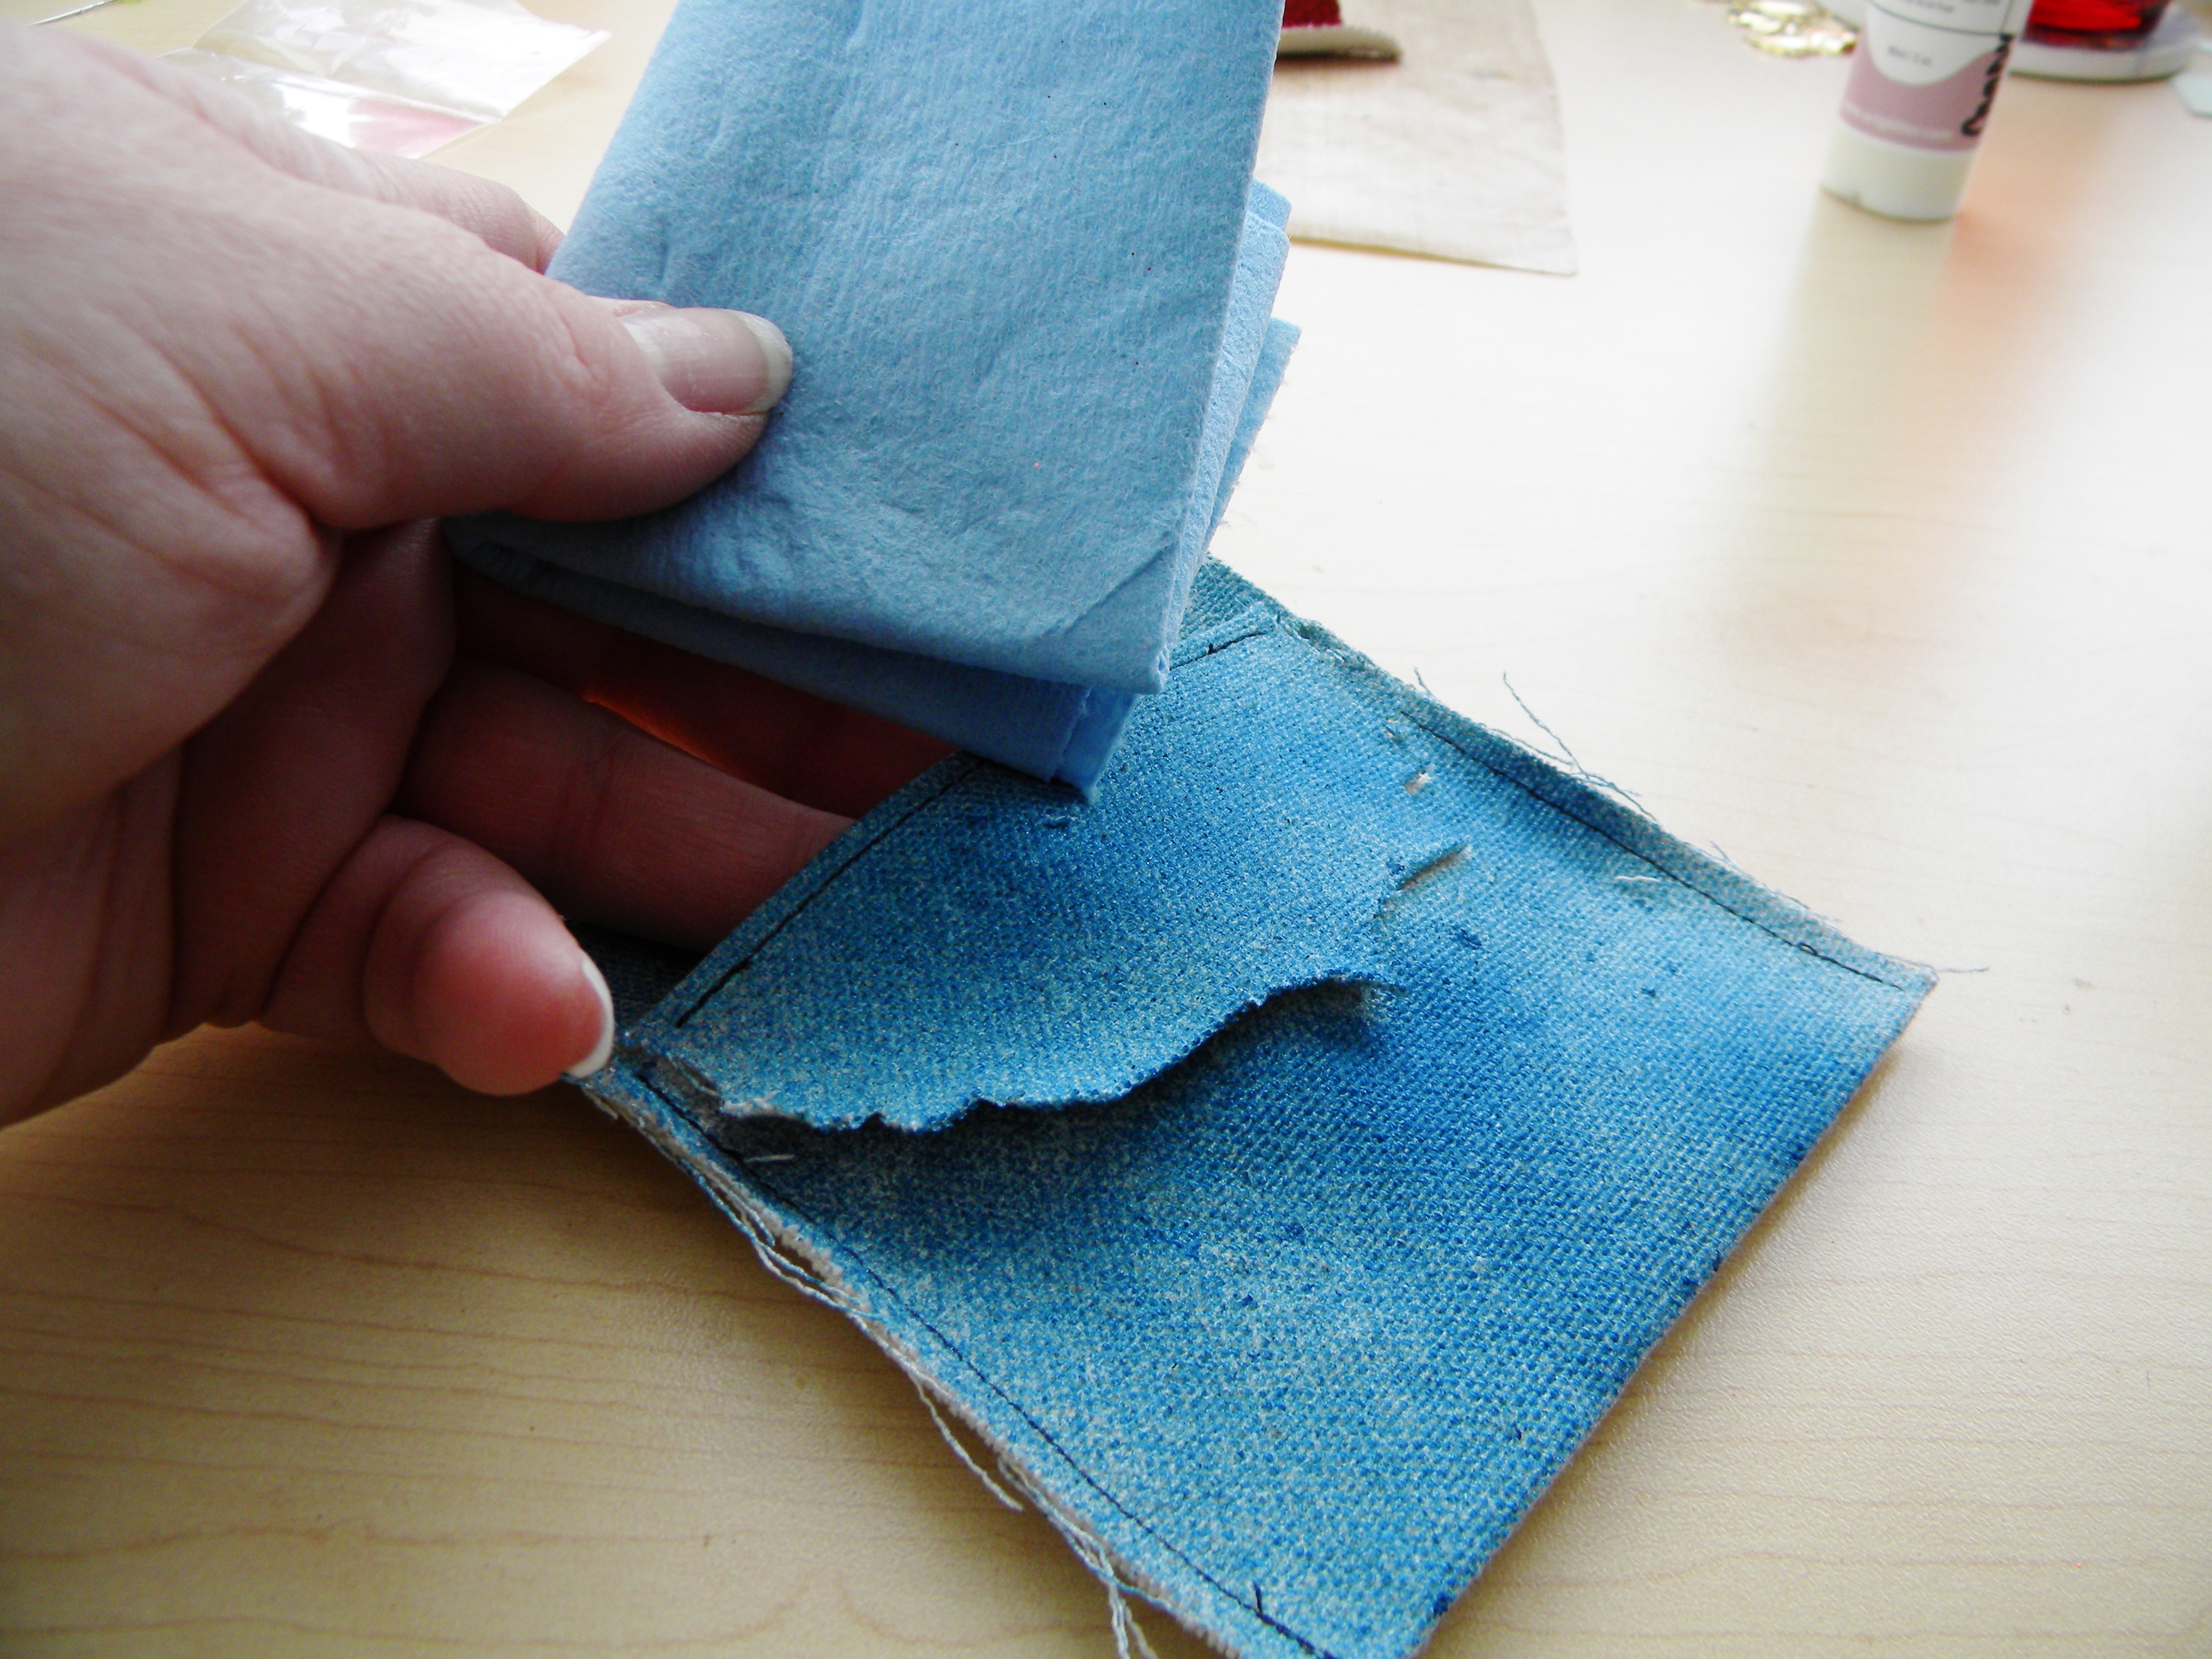
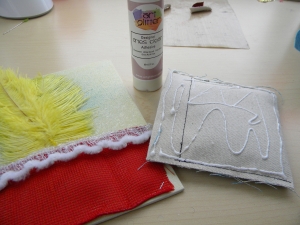
I set those aside to dry and turned my attention back to the pocket. I wanted the pocket to look puffy, so I folded up a paper towel and tucked it inside.

focus 6 by candy spiegel
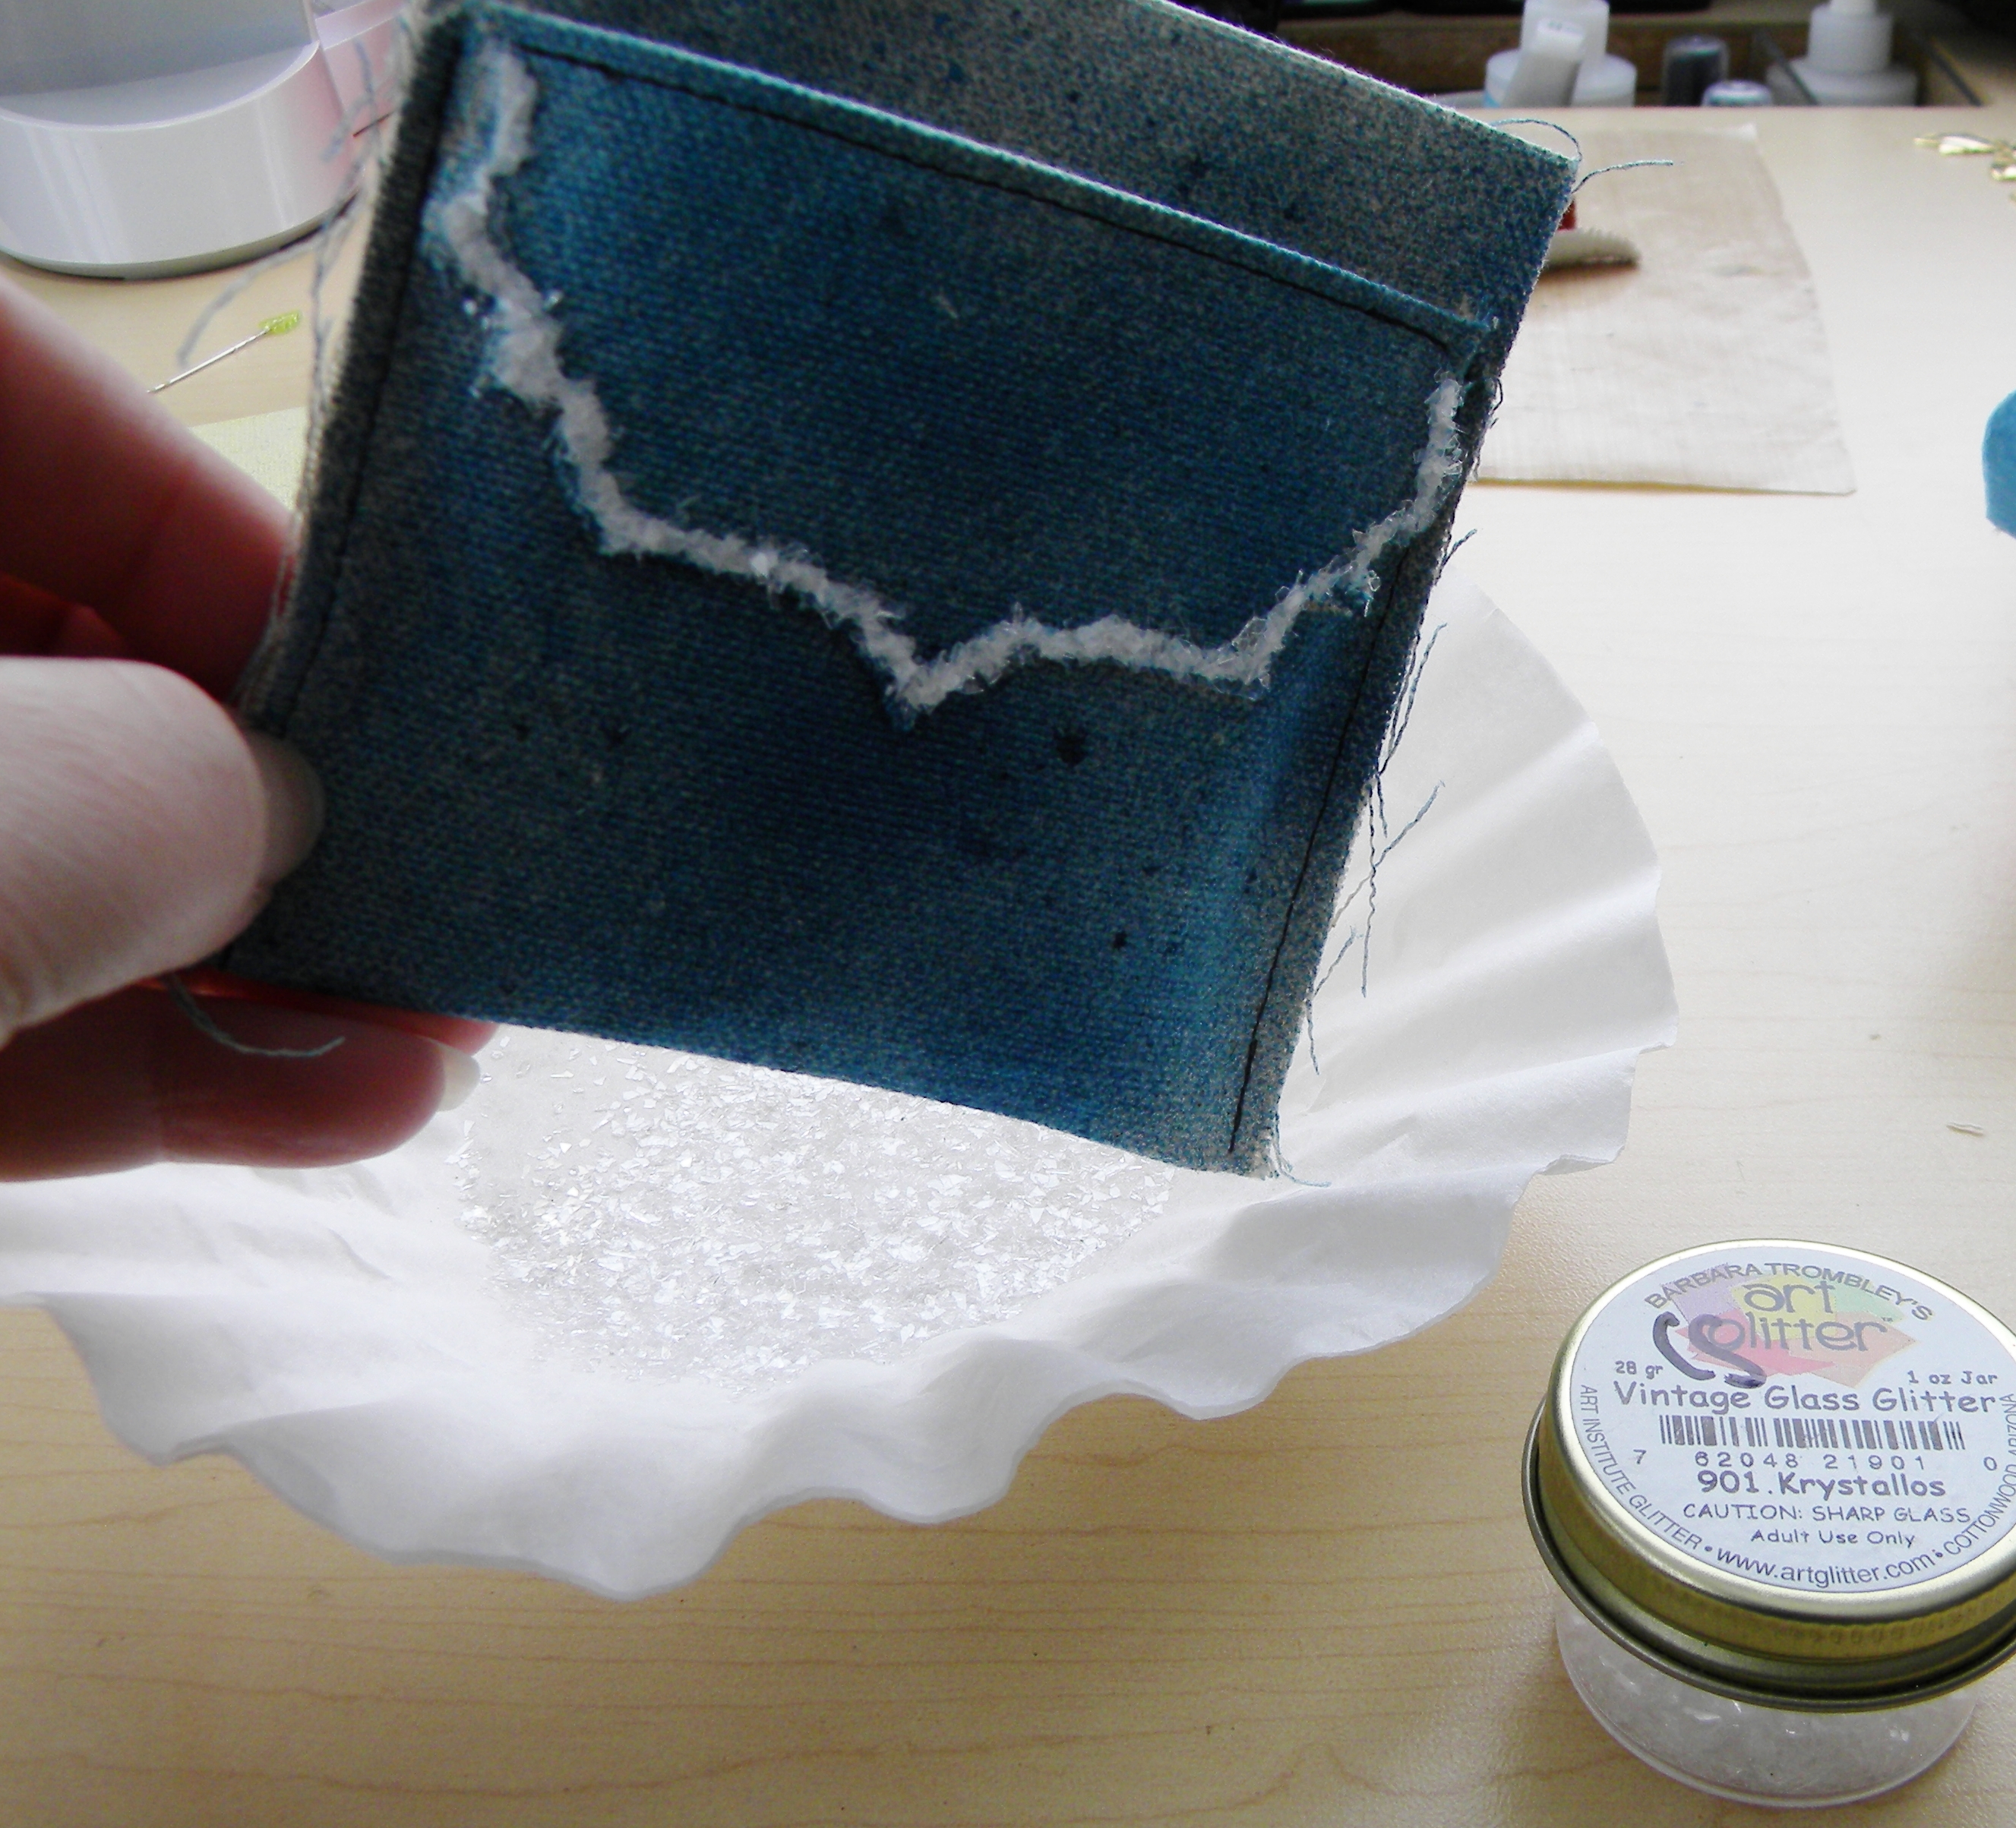
Then I followed along the front flap of the pocket with a bit of Designer Dries Clear Adhesive and coated it with clear glass glitter.

focus 7by candy spiegelI used the same glue to attach feathers and the pocket to the canvas. I used the Tiny Attacher to attach the ribbon and burlap.

focus 8 by candy spiegel
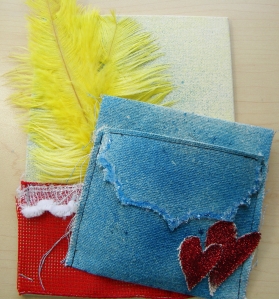
Then, I glued the hearts on the front.

019


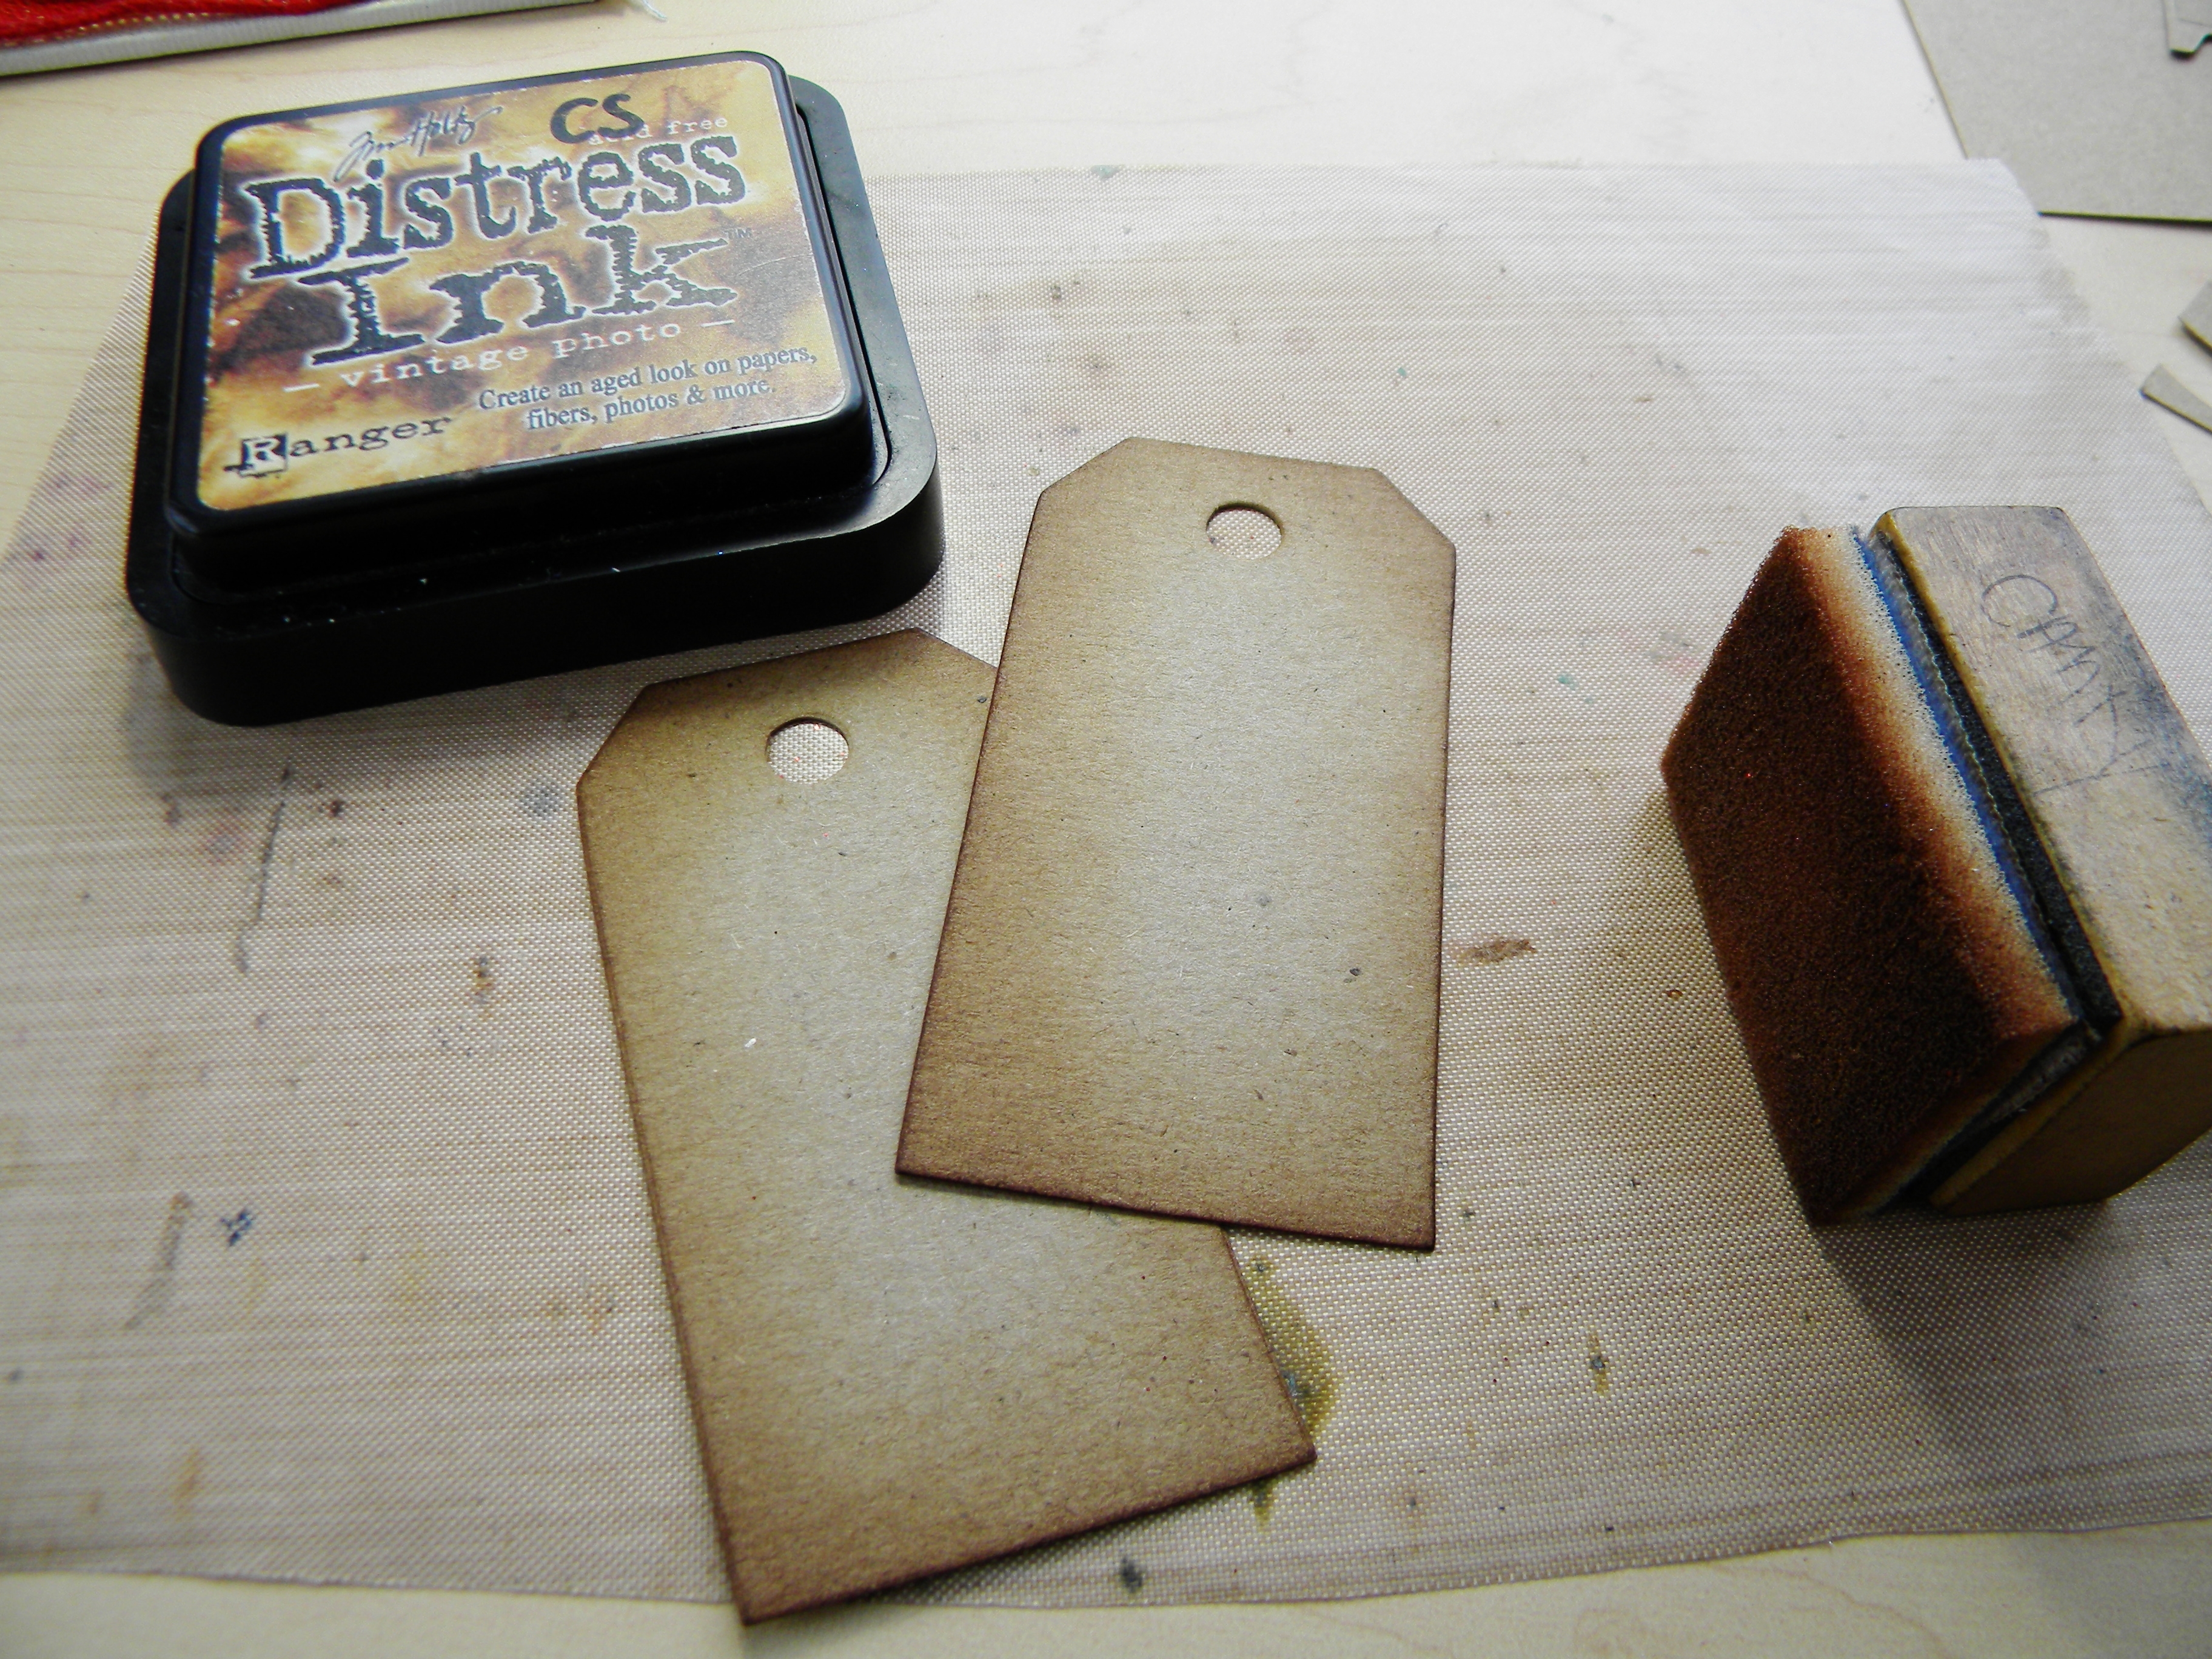
I cut tags out of kraft paper using a Tim Holtz die. I then inked the edges with Distress Ink in Vintage Photo and then in Black Soot.

I added flowers, a metal clock (because this is all about time), a metal button, some twine and the word FOCUS in big black letters that I cut out with a Tim Holtz die. I also used some little sticker letters (also from Tim Holtz) to put the words To Do and Today on the tags. And that was it! Can you see how puffy the pocket is?

focus by Candy Spiegel


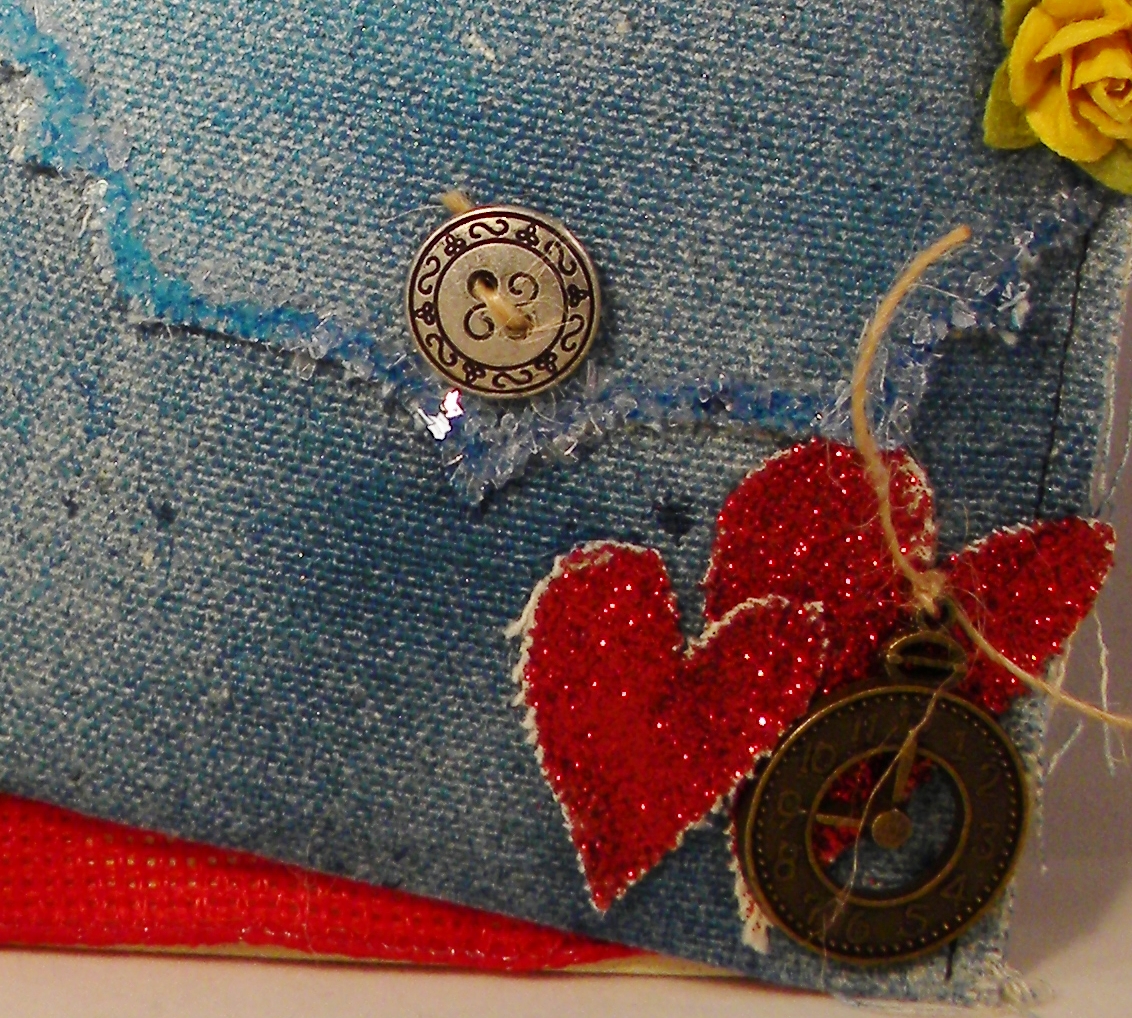
Here’s a close up of the corner of the pocket …

focus detail by candy spiegel


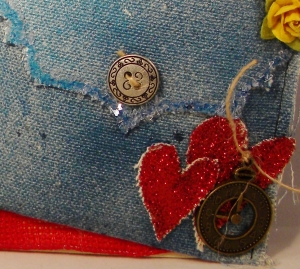
You can see how the adhesive dried clear and now you just see the chunks of glass for a pretty, soft sparkle.

Now if I can just stay focused …
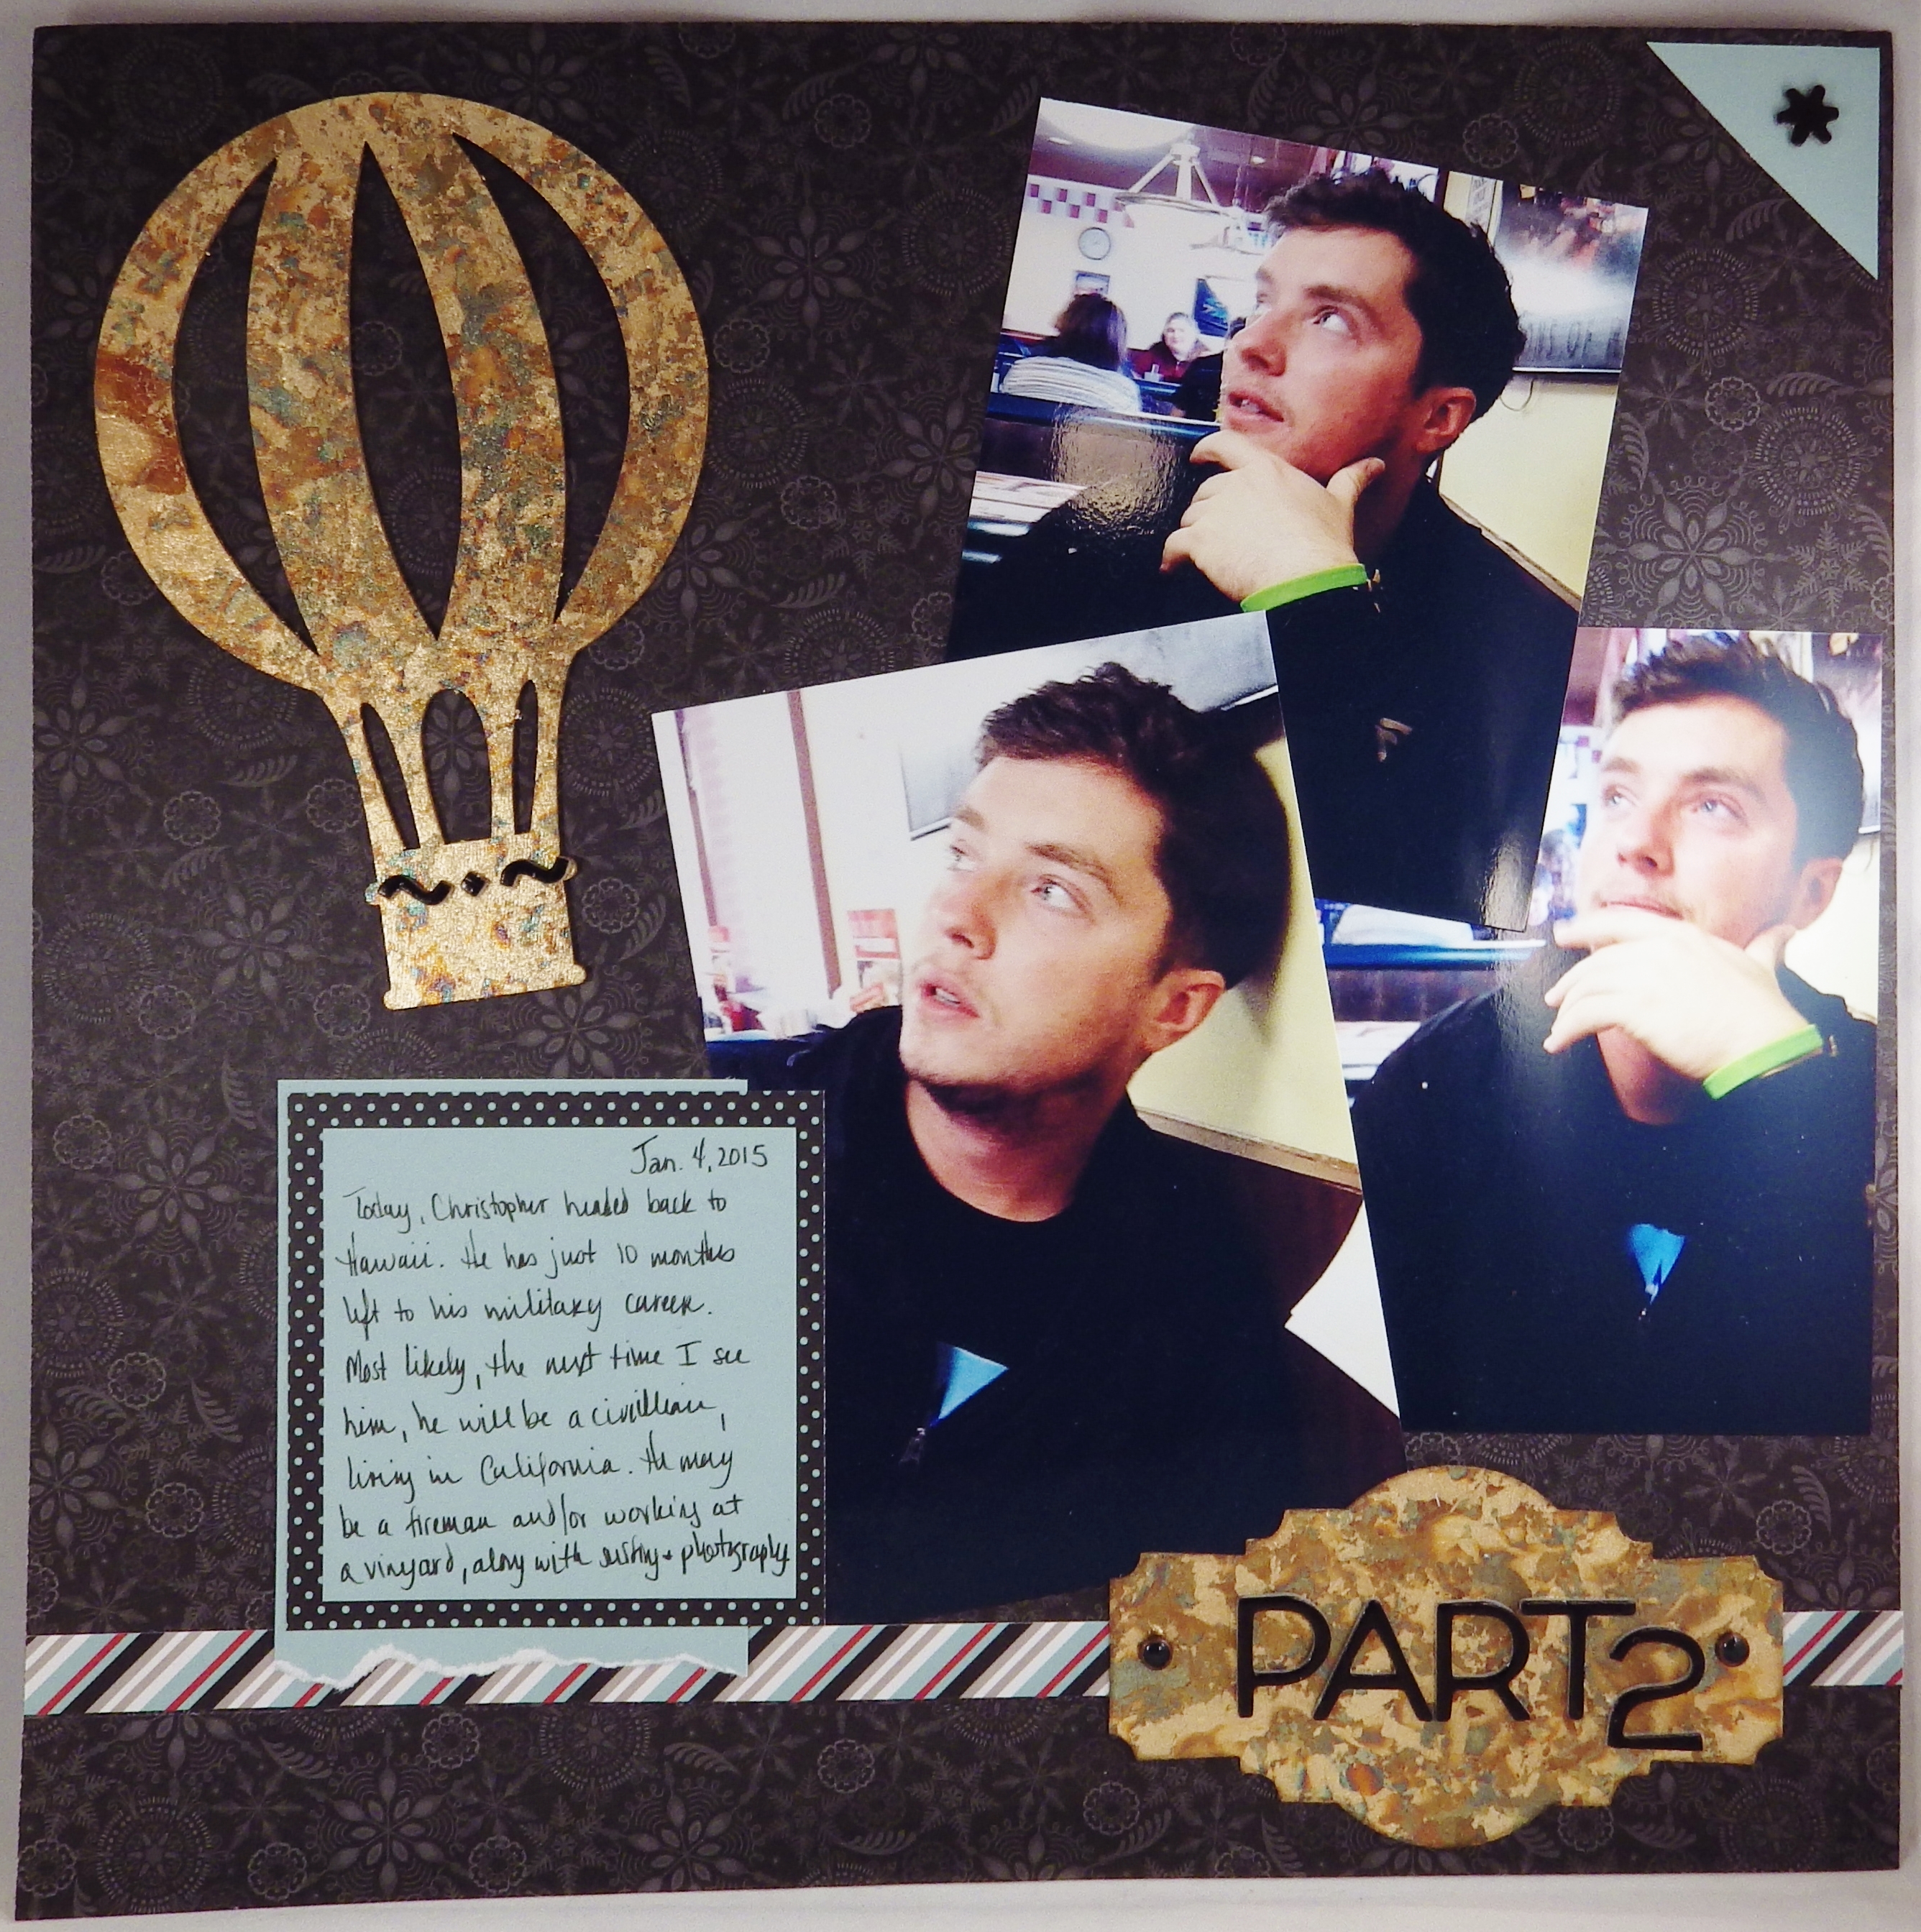
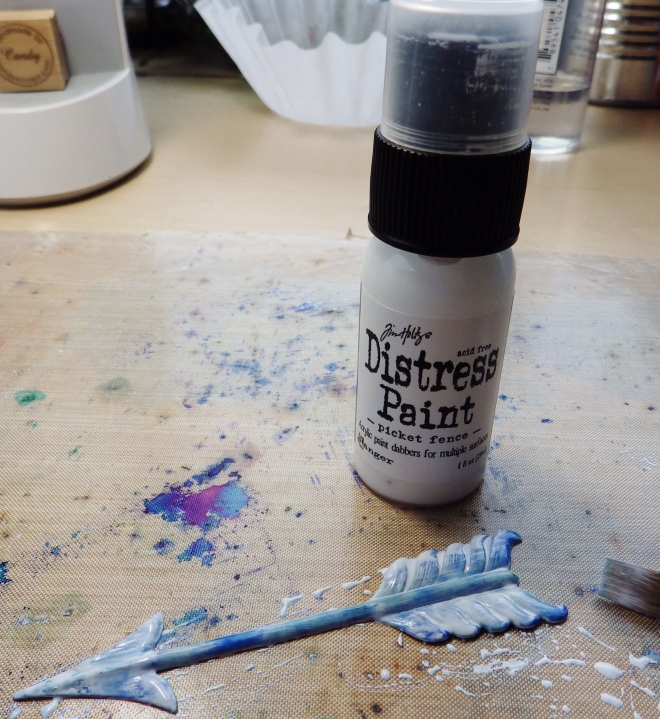


Help! They’re Molting!

Linnie Blooms Molting Candy SpiegelIf you have never noticed a molting chicken, you are in for a treat. They look rather ridiculous as they lose feathers and slowly replace them.

I recorded the event this year on this spread for Linnie Blooms Designs.

For a closer look and to see how I created this page, click here.