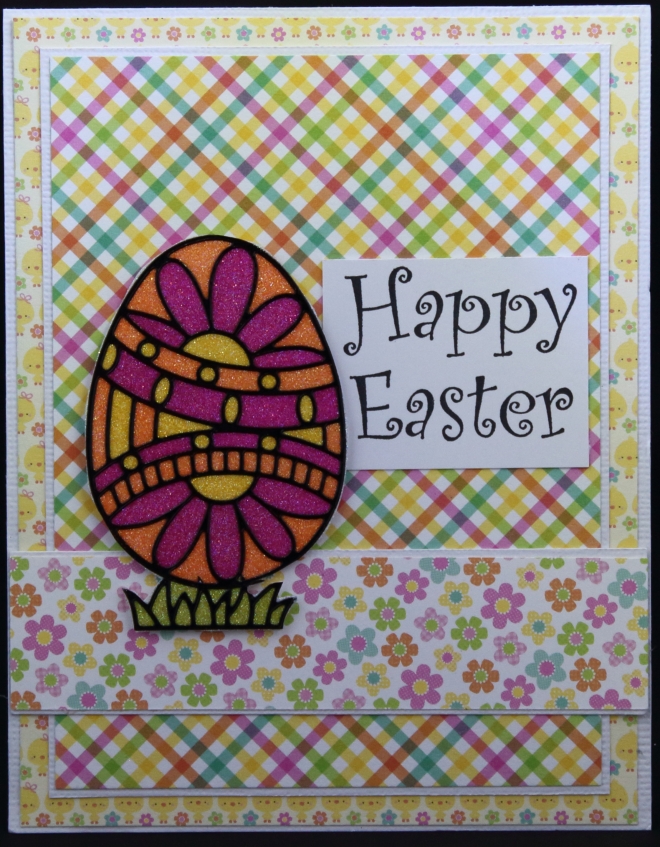
 Whenever I have a big crop to attend as a vendor, like Boyne Highlands’ “Girls Just Wanna Crop” with 331 women, I create samples for as many of the products as I have for sale as possible. After all, how do you know you need that product unless you can see (and touch) what someone has done with it for yourself?
I finally had a chance to get photos of all of these card creations … this post will be long, but hopefully it will be inspiring!
Elizabeth Craft Designs’ A Way With Words Dies
Elizabeth Craft Designs makes these dies using hand-drawn words from Suzanne Cannon. They are beautiful and unique and fit perfectly on cards and scrapbook pages alike.
My husband, who used to just run my register and serve as chauffeur and pack-mule at the larger crops, has gotten a bit crafty lately. Every time I taught a class, I would come back to either new samples or a group of ladies hanging on his every word! The coolest thing is I have not shown him how to do a single thing … he has absorbed it all from listening to me teaching and/or discussing products with him over the years. It turns out he is quite creative. I know I should not have been surprised, but I was!
For these words (to show the differences in the Elizabeth Craft Designs’ Cool Diamond Silk Microfine Glitter and the Warm Diamond Silk Microfine Glitter), he adhered ECD clear, double-sided adhesive to black cardstock and then used the Believe die to cut each one out. Then he applied the glitter and polished it with his finger. Super easy and super beautiful!
By the way, the top one is Cool Diamond — it has a silver or blue tint. The bottom one is Warm Diamond — it has a gold or yellow hue.
 For this one, I cut the words out twice — once from brown cardstock and once from Bazzill’s Foil Cardstock (one of my new favorite products). I layered the foil die cut slightly to the right of the cardstock one to create a bit of a shadow.
The foil background is embossed with the ECD snowflake embossing folder. I used the medium die from the ECD Entwined Circles die set and added a few Glitter Dots. Easy and stunning!
Elizabeth Craft Designs Silk Microfine Glitter

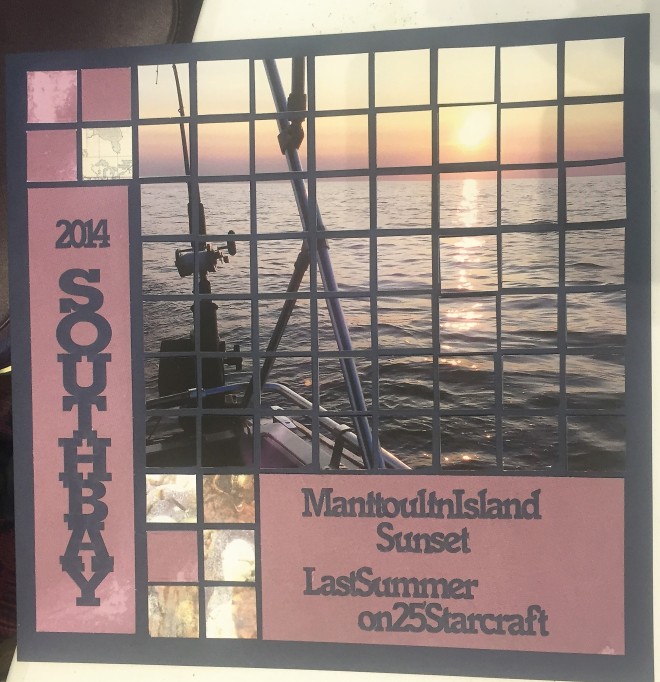
Did you know ECD double-sided adhesive and Warm Diamond and Cool Diamond glitters are transparent and can go over photos? I did the fairy and birds with Cool Diamond. Matt made the mosaic with Warm Diamond (he was looking for ways to join my two lines).
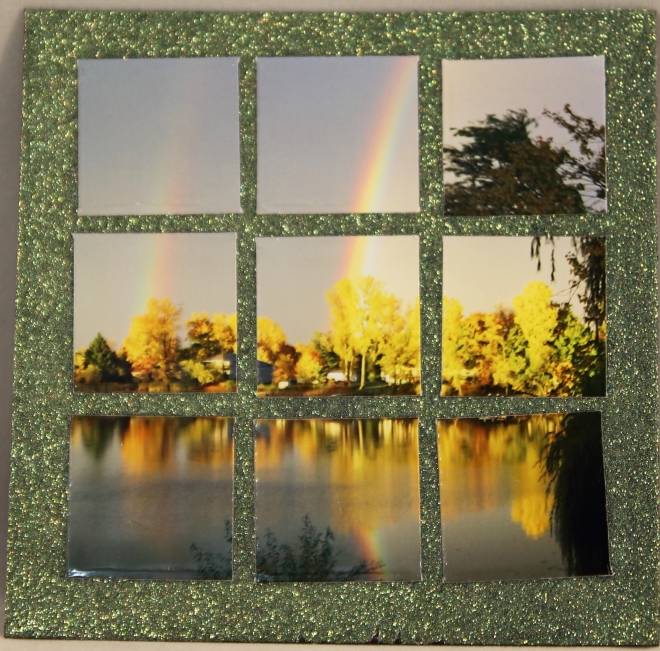
Matt also made this one using the Warm Diamond Glitter and Mosaic Moments RTC Grid Paper in Black.
Elizabeth Craft Designs’ Chevron Background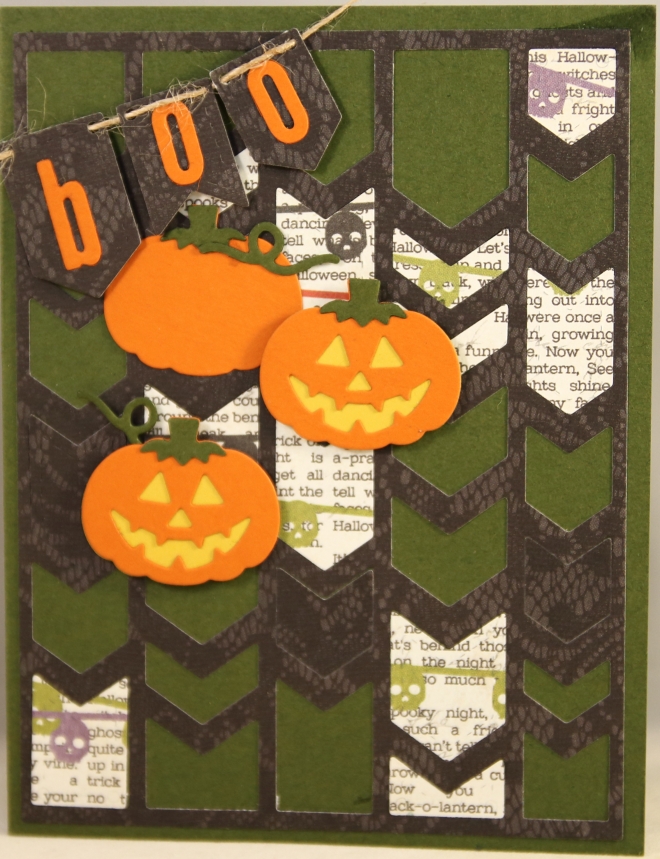
I love this new die from ECD. On this card, I put back in some of the chevron pieces it cut out (flipping some over to take advantage of the double-sided paper). But the coolest thing is all of the pieces along the top and bottom of the chevron have tiny holes cut in them so you can take out those pieces and create a banner, like I did at the top of the card. Ingenious!
I also used Halloween Charms and Alphabet Die from ECD on this one.

This time, I covered my card base in ECD double-sided adhesive, added the die cut to the top (cut out of silver foil cardstock) and then filled in the open areas with ECD Silk Microfine Glitter. Then I colored them in using Copic markers. This idea is totally stolen from Kelly Booth and hers looked much better than mine, but you can get the idea …
Elizabeth Craft Designs Animal Dies
These are part of the Karen Burniston Pop It Ups Collection for ECD. I love that they have little props, like a Santa hat and glasses, that fit on any of the animals.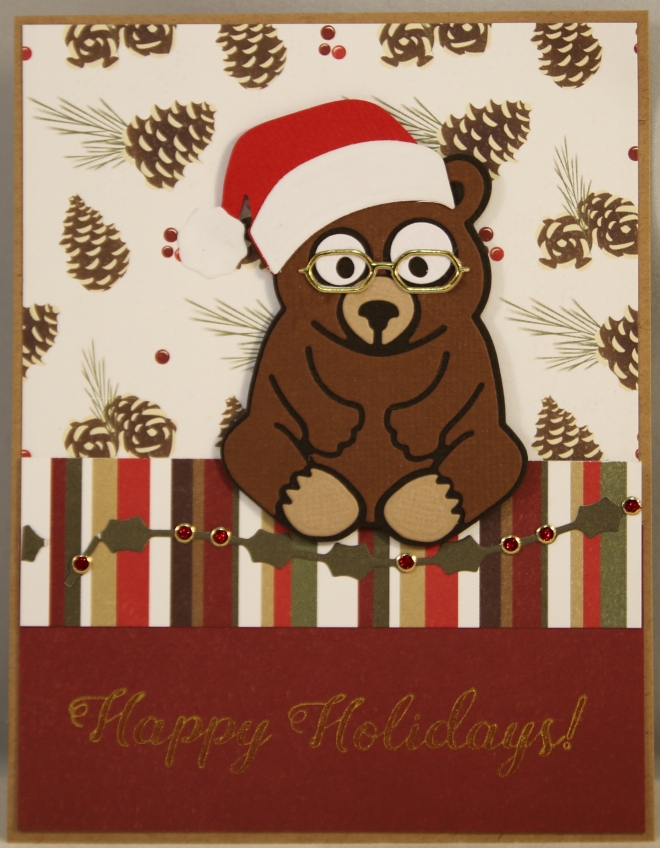
This is new paper from PhotoPlay … I used Honey the Bear with Props 5. He’s sitting on the Holly Flourish (trimmed and mangled from transport) with Glitter Dots for berries. The stamp is also from ECD.
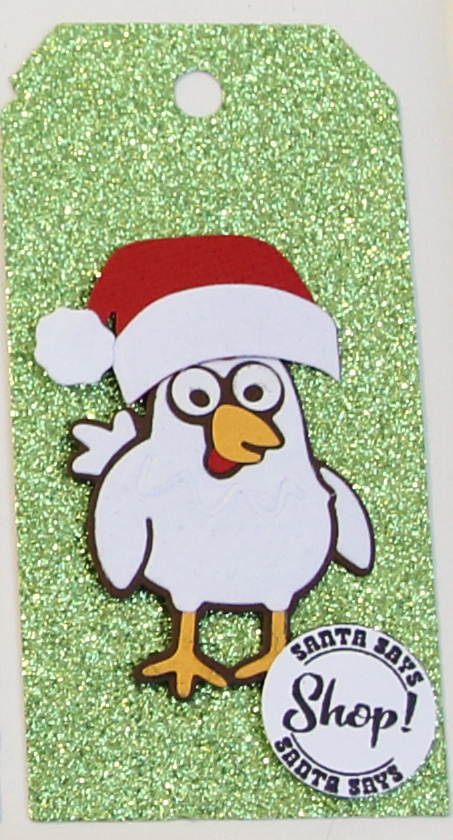
Cheepers the Chicken wearing Props 5 and a stamp from Karen Burniston, as well.
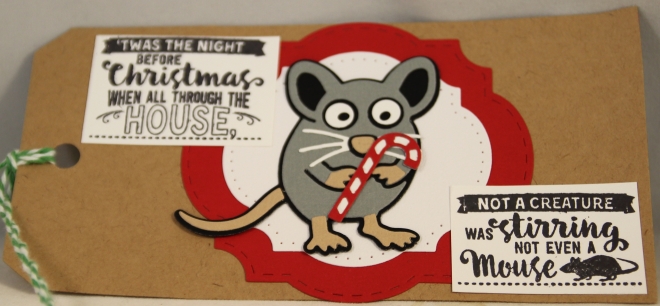
Jolly the Mouse, stamps from Karen Burniston (the same set as the chicken) and the new Labels & Circles die
Iron Fence Pop Up This ECD die, also by Karen Burniston, came out for Halloween, but it is easily made into a Christmas fence by using glitter paper. I added the Labels & Circles dies and a stamp by Joset Designs for ECD. The paper is from BoBunny.

Here’s the fence again … this time not as a pop up. In addition to the Labels & Circles (love that set) and the stamp from Joset, I used the Chevron Background Die to cut out the pieces for the banner from glitter paper.
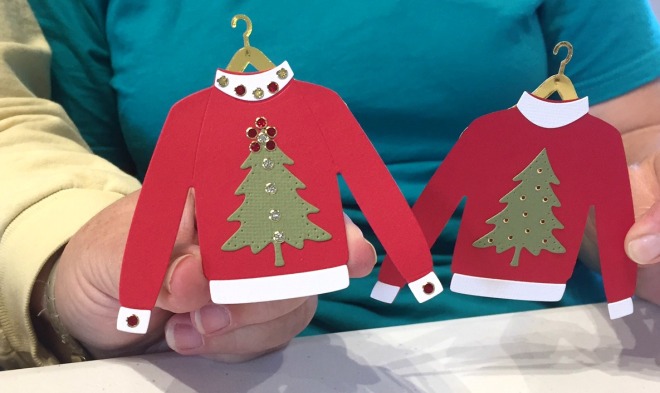
Winter Sweater Die
I can’t get enough of the Winter Sweater Die by Joset Designs for ECD. It is way too much fun to play with. These are just cut out of paper … I added the Holiday Garlands 2 and Holiday Charms dies, along with Glitter Dots to these ones. The hanger is cut from foil cardstock.
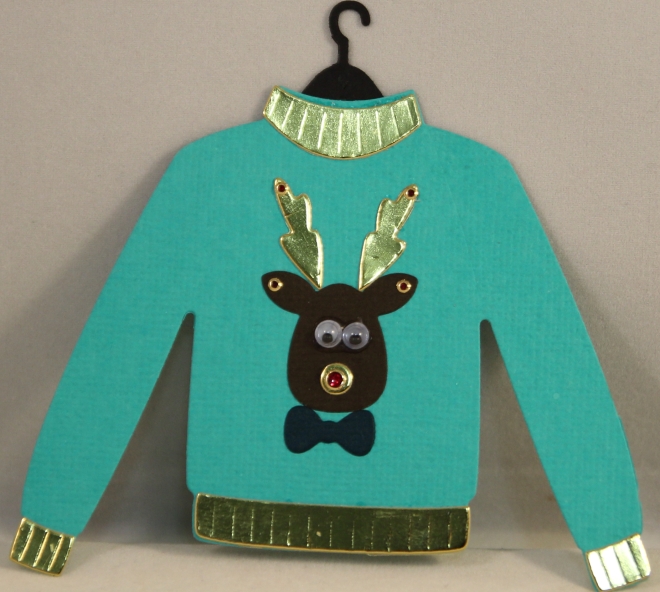 Matt did this one … he used foil cardstock for the cuffs, antlers and nose … I love how it shows the embossing that is part of the die. And, he added googly eyes and Glitter Dots. The bow is from the balloon die set by ECD. Quite clever!
ECD Peel-Off Stickers
 I love these stickers. They are so versatile … you can use them with any coloring medium and on just about any surface.
Matt made this card on Mosaic Moments RTC Grid Paper with Cool Diamond Silk Microfine Glitter and Copic markers. I love how he colored the background in.

I did these on patterned paper (from Graphic 45) and fussy cut them out.

More glittered and colored stickers … it never gets old.
The card on the top right uses the Transfer Sheet to use the remains of the sticker after the outline has been used. The paper on that card is made using the new stencils from Karen Burniston for ECD.

Two more samples … I thought the Kitchen Time set would be fun to make tags to adhere to your homemade gifts this holiday season.
More Dies from ECDThis one uses the largest die in the Entwined Circles set. I added the Holly Flourish, Joset’s Birds and some Glitter Dots. The birds are cut from glitter paper (Close to My Heart) and the hats and scarves are cut from felt. I love how versatile the dies are!
I made this one the last day of the show using the new Pinwheel die from Joset Designs for ECD. I cut most of it out of foil cardstock (I told you I love that stuff). Because the foil is white on the back, I added Cool Diamond Silk Microfine Glitter to the backside before creating the pinwheel. The paper is from Doodlebug. And, yes, the pinwheel is adhered with a brad and spins!
Stencils
 Finally, I purchased this beautiful Memory Box stencil from Bayview Scrappers, another vendor at the show. I made a sample for their booth using Distress Ink and dies, which I neglected to take a photo of.
But, I also did this one with Viva Decor Glitter Paste in two different colors for my booth. I love how it turned out. It will become a card eventually!
And there you have it … Are you inspired?
Stay tuned … page samples are coming soon!


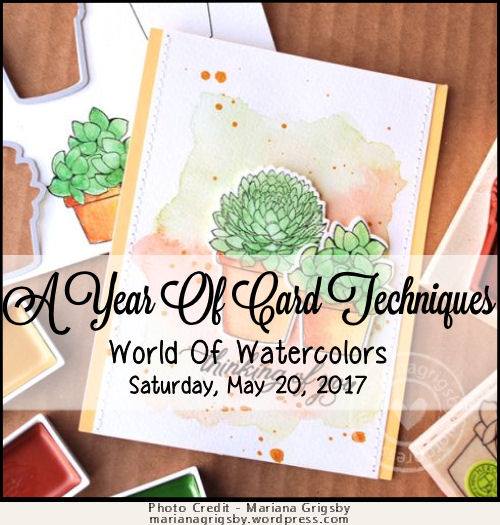 Welcome to A Year of Card Techniques Blog Hop where each month we feature a different card technique. We’ve assembled a team of card makers who range from new to advanced, so you’ll see a great variety of cards and ideas.

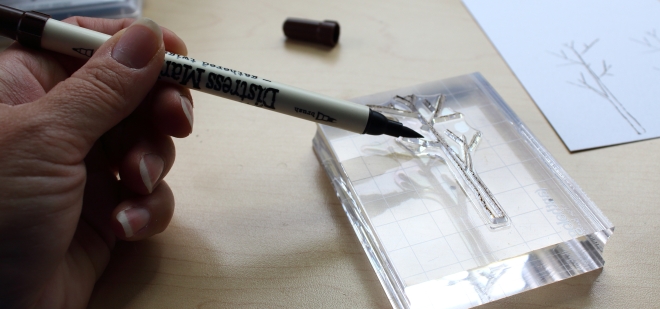
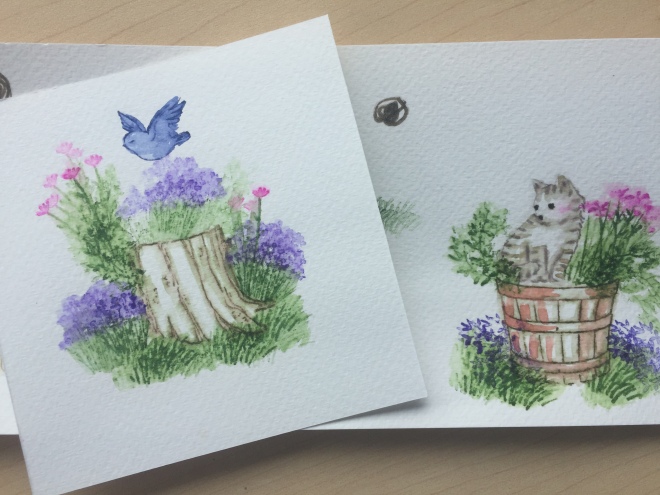
 I stamped them on watercolor paper and then used a damp brush to drag the color from the edges to the center of the image. The trick is to limit the amount of water. I dipped my brush into a cup of water and then wiped it on a paper towel before using it. If it is too dry, it won’t move the color — just wet it a little more until you can see the color move. If you use too much water, your image will become a lake of mud …


 Els and her husband, Joep, took the time to get to know me, offered me some advice and told me what I’d been doing wrong. By the time the weekend was over, I had regained my confidence, found opportunities to possibly teach at three new stores and was inspired to give Candy Scraps another go. (And she didn’t even comment on how dirty my car was because I don’t have time to clean it!)


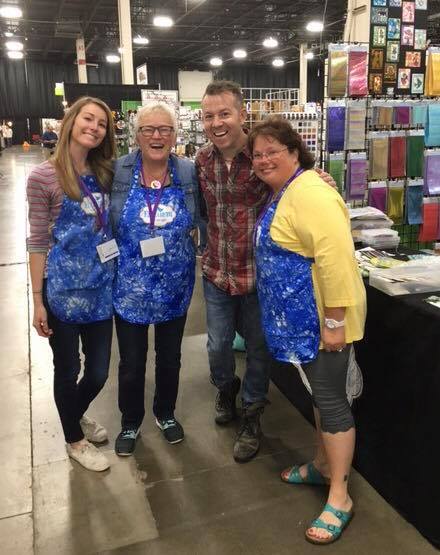
 This year, we got to go three times, since they added an additional Girls Just Wanna Crop weekend, the weekend following the traditional fall one. For me, these two October weekends were monumental.
 On a professional level, I developed a new business plan limiting my products to Mosaic Moments, Elizabeth Craft Designs and my unique page and card kits. My husband built me some new displays to showcase my new lines and Boyne was the first time I got to try them out. I also worked out a deal with another vendor while I was there (you’ll see more about this later). And, I taught Mosaic Moments, in the form of a two-page layout, for the first time to a group of 15. The class sold out quickly, I had to turn many away and I was very nervous … but the ladies loved it. (Of course, I forgot to take any photos the entire first weekend)
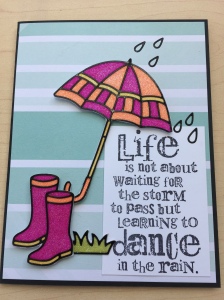
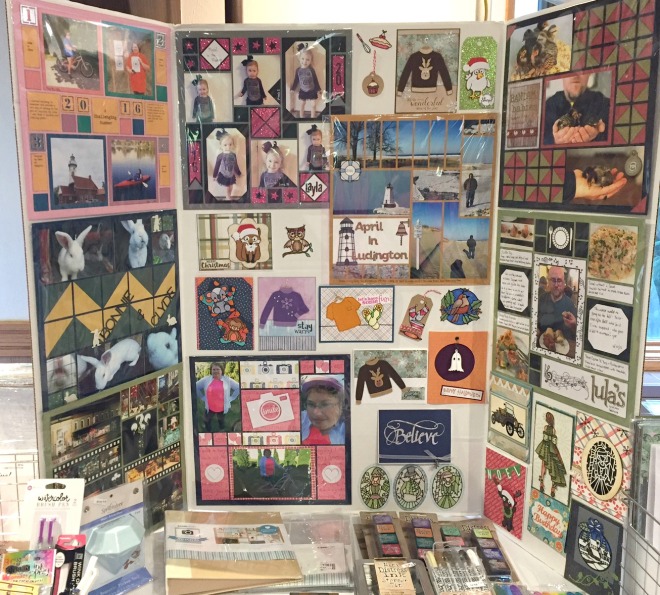 As usual, I did free make and takes to show new techniques throughout the weekend. Here’s a card one cropper made after learning to use Elizabeth Craft Designs glitter and peel-off stickers.


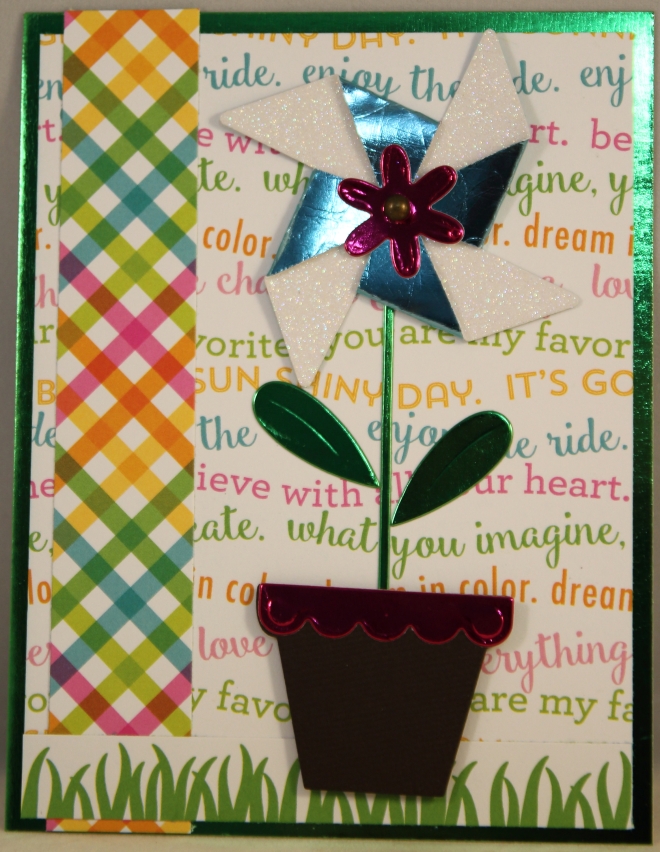
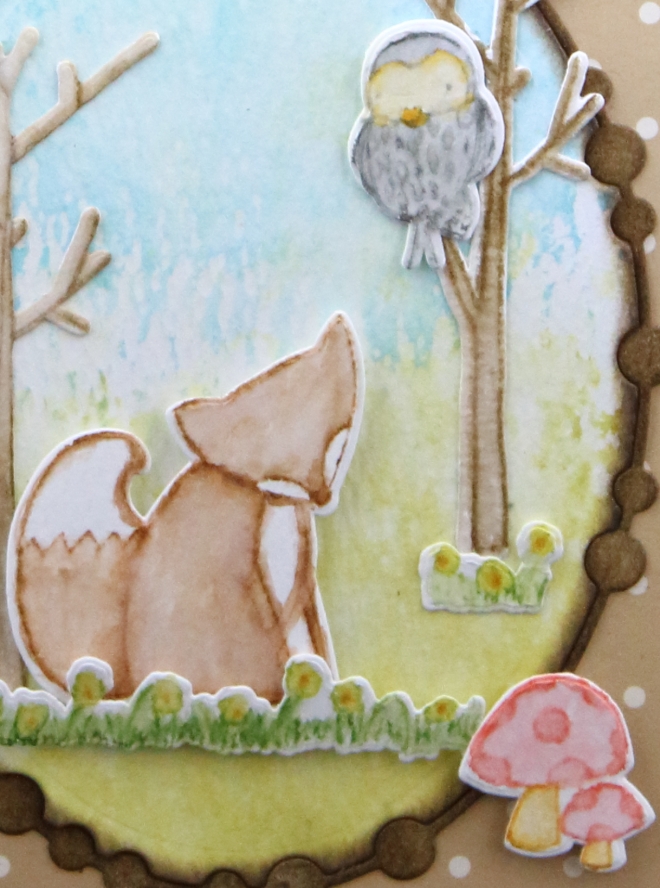
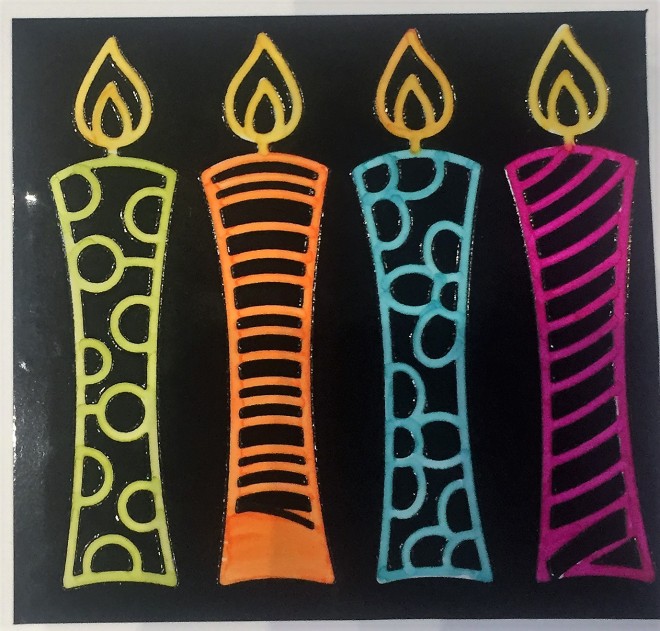
 but then I wanted to have a bit more fun, so I put Dutch the Fox (a die from Elizabeth Craft Designs) in the pot and added some of the holiday props to him. I mean, who doesn’t love a fox in a Santa hat with wire rimmed glasses!?


