This past June, my husband and I spent a week in the Upper Peninsula. We were supposed to spend the time camping, hiking and photographing nature. Our campsite was right on the beach of Lake Superior and I imagined several evenings sitting in front of the fire, listening to the sounds of the waves crashing on shore, while watching the sun set.
We knew it would be a little cool … we took hoodies and fleece-lined sweats to keep ourselves warm overnight. And, we packed plenty of blankets, as well.
We knew if might rain, so we bought waterproof coats and shoes.
What we didn’t count on was three days of wind and rain, on and off, all day and all night. By the third night, everything in the tent was damp feeling — even though it was dry. The wind picked up to about 40 mph, the rain was coming down in buckets, and the temperature dropped to 48 degrees. We went to bed early (there was nothing else to do) even though we weren’t really tired. Every few minutes, a gust of wind would lift open the rain flaps on the tent and suck out all of the warm air. Every time the wind blew, I got a little colder. I had my hoodie up and layers of clothing on, but I was still cold. And, I must admit, I was a little scared that the tent was going to collapse in the wind. I asked if we could get a hotel room. Matt told me just to snuggle a little closer and he would keep me warm. So, I snapped a few pictures of the raindrops on the tent, snuggled a little closer and prayed morning would come soon.
I had just about fallen asleep when I heard Matt asking if they had a room available for the night.
Ten minutes later, we were comfortably settled down the street at a motel. We cranked up the heat, put our shoes in front of it to dry (we had been playing in Lake Superior earlier in the day and the exteriors of our shoes were still wet) and took long, hot showers before going to bed. It was wonderful to be completely dry and warm that night.
We called it an early Christmas present, since we stayed at the Christmas Motel in Christmas, Michigan.
Amazingly, our tent survived the night … Everything was just as we left it, although it was still so windy the next morning, it nearly blew away as we were trying to get it down. A neighboring camper had to help us! We weren’t able to pack it up, but we did manage to get everything into the car.
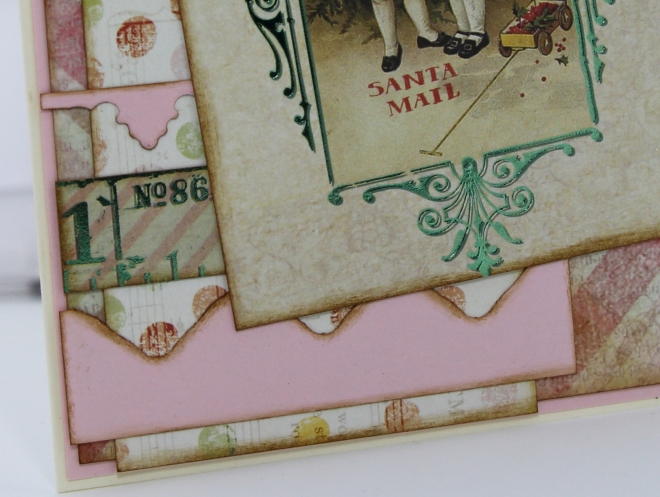
Of course, I had to scrapbook this crazy night.
While waiting for Matt to register us at the motel, I had taken pictures of the temperature and the rain on the windshield. The next morning, I took photos of the sign and outside of the motel. I used those, along with the pictures I had taken of the rain on the tent, to help tell the story on my page.
I also used the Mosaic Moments Arrow Die … it’s a versatile die because you can use either the inside or the outside or both together! I made a video to show you how it’s done … click here to watch.
Have you ever scrapbooked the weather?
NOTE: I was compensated for creating this video.

 This is one of those projects that just evolved … I had no intentions of making it, but somehow, it just sort of happened.
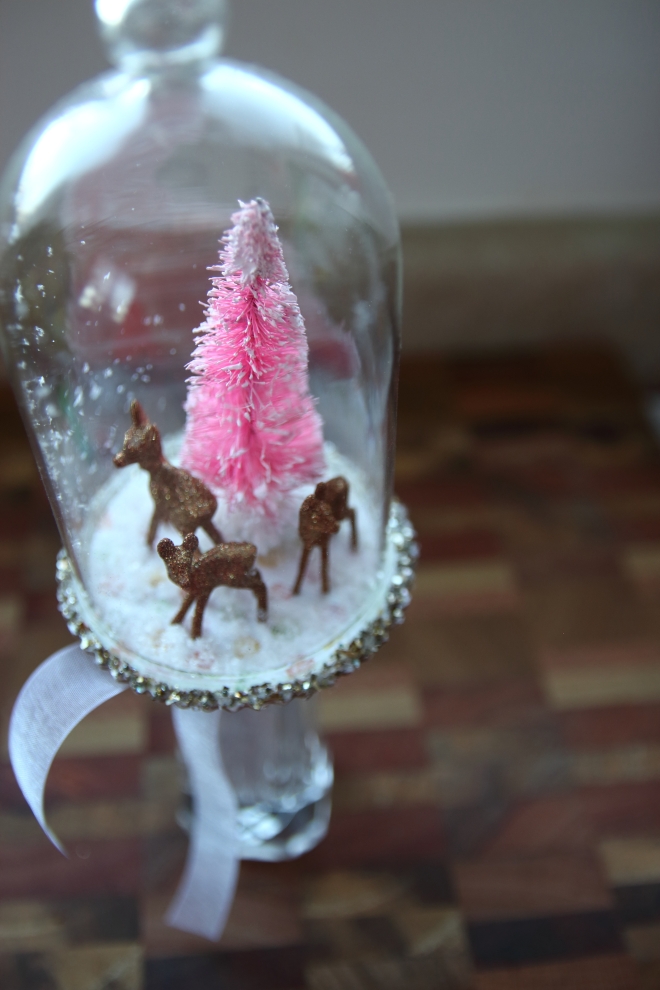
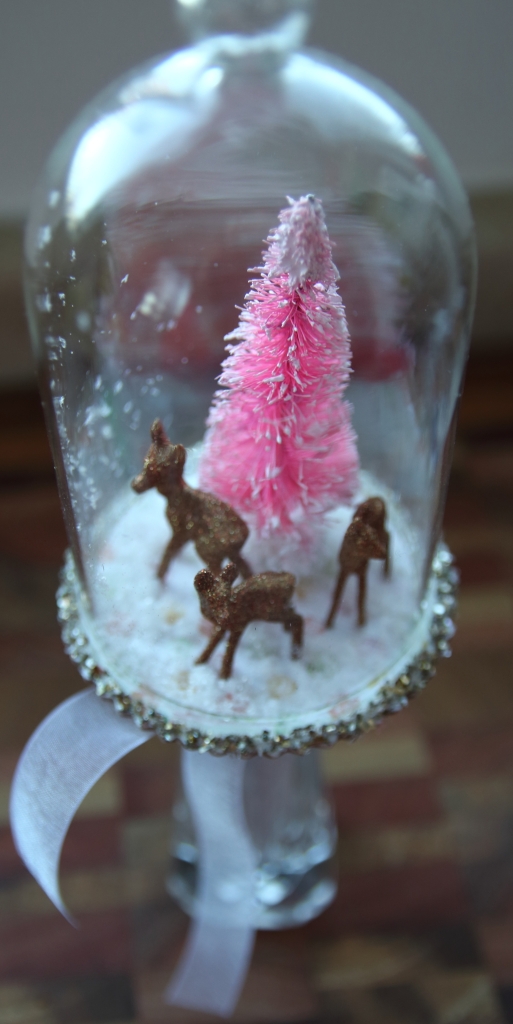 I then pulled out a Melissa Frances cloche I had … I painted the base white and then glued the deer and a pink tree to the top. I poured a bit of “snow” into the glass and glued the glass to the base. Then, I added a bit of vintage glitter to the edge.
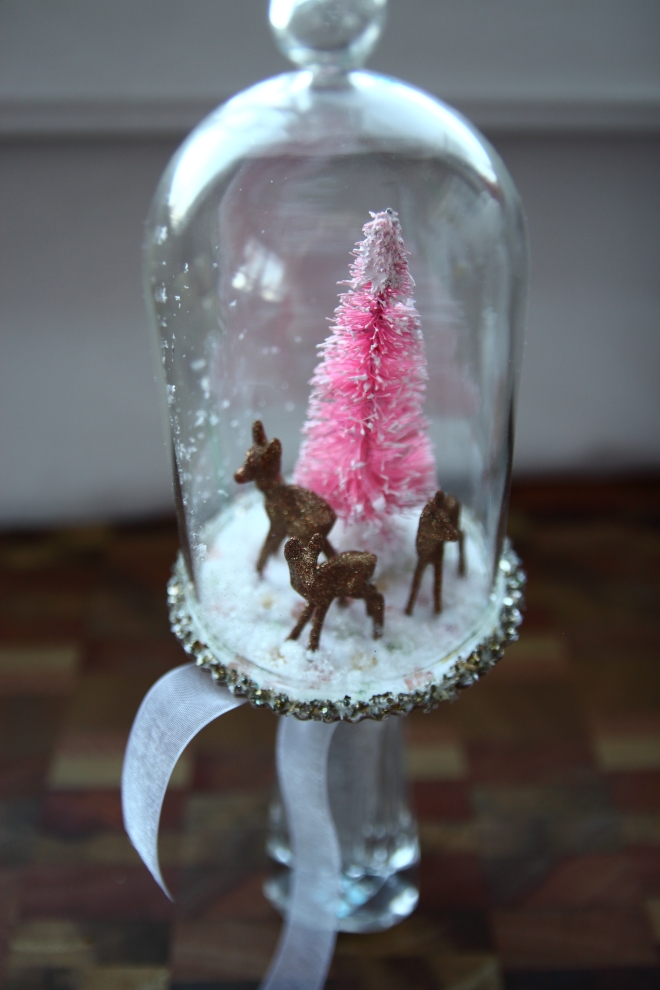


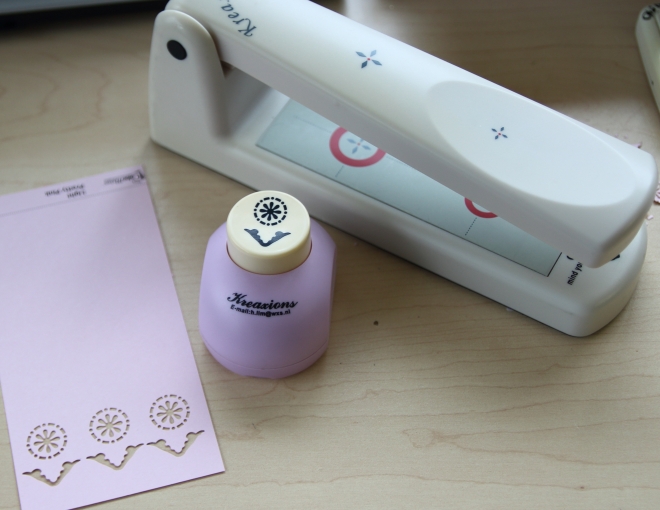
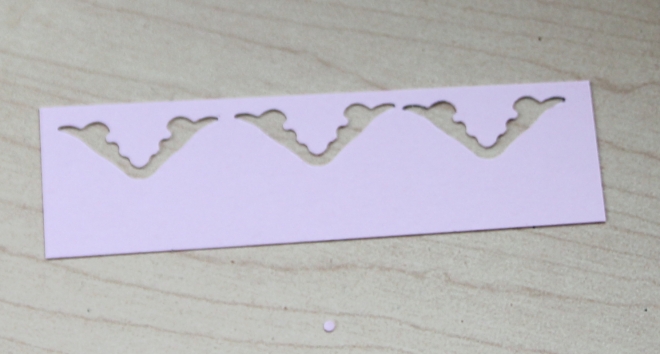
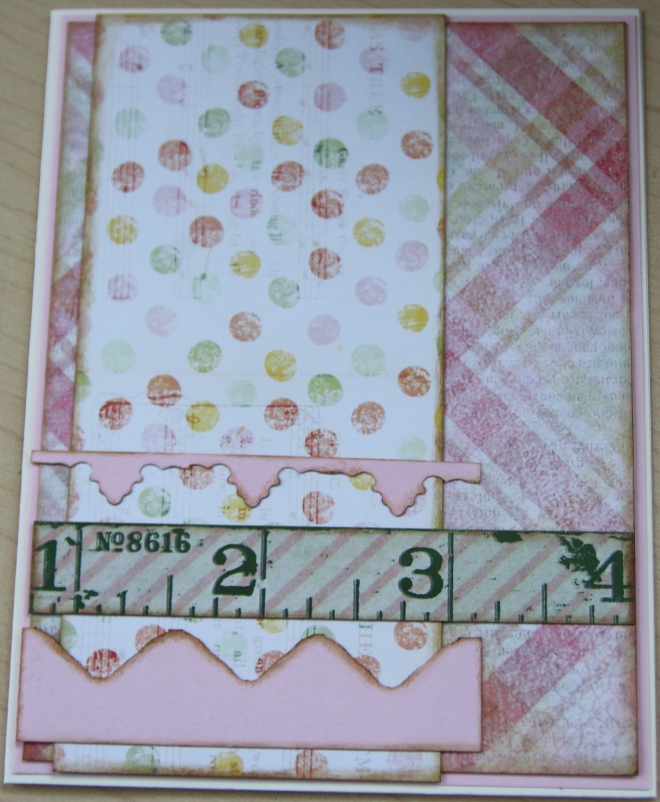
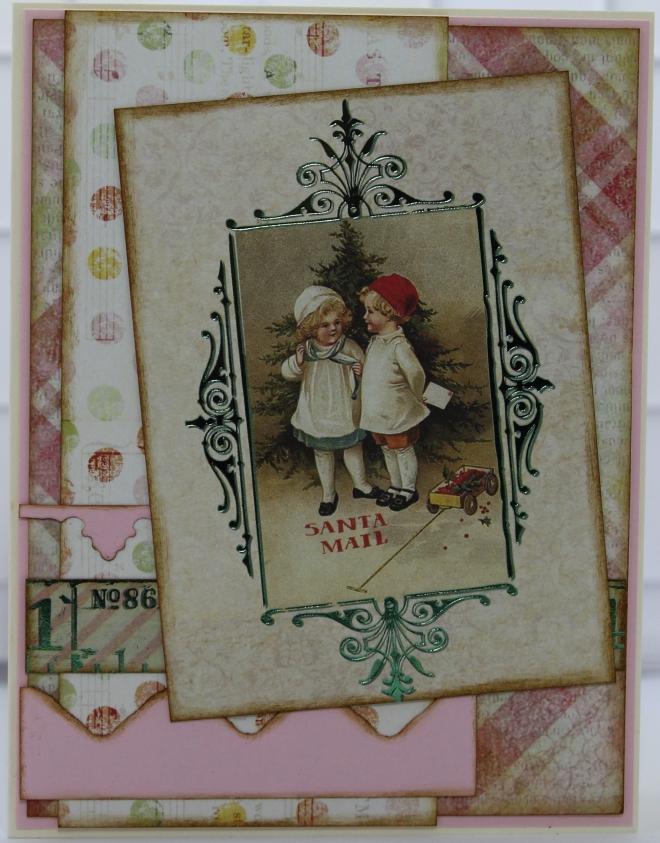 Welcome to the Just Imagine/Kreaxions Blog Hop.


 but then I wanted to have a bit more fun, so I put Dutch the Fox (a die from Elizabeth Craft Designs) in the pot and added some of the holiday props to him. I mean, who doesn’t love a fox in a Santa hat with wire rimmed glasses!?


 Creative Passions is a wonderful place, by the way … we stayed in the small space in the back of the church, called CP2B, which comfortably holds four with two bedrooms, two bathrooms and a fireplace. There was plenty of space to cook (or to set out the junk food, which is what we did) and crop. The owner provides so many amenities, including breakfast, bottled water, hair dryers, shampoo, lotion, every channel possible on the tv, WiFi and even a pencil sharpener! I loved my time there and cannot wait to go back. I only made it to two of the restaurants but I did find the best gluten-free pizza north of Detroit at the bowling alley. And, I was able to find a few Christmas presents in town, as well. It was nice being away from all of the hustle and bustle and big box stores for a bit. I have got to book another trip …
 When my kids were little, I started a tradition of making them something special that was just from me. When I married my husband, I extended the tradition to include him. This year, I added my son’s fiance to my list.
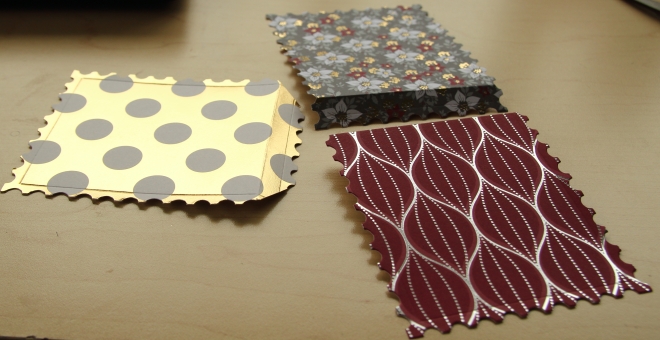
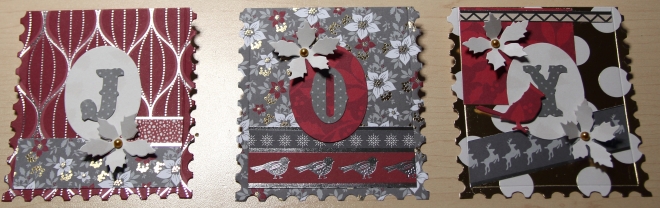
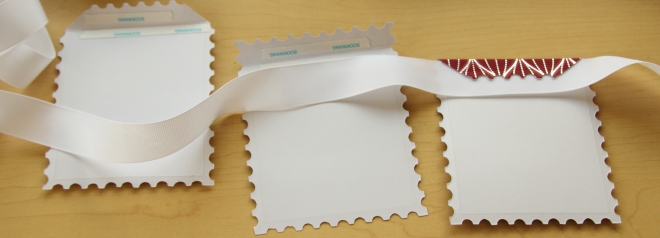
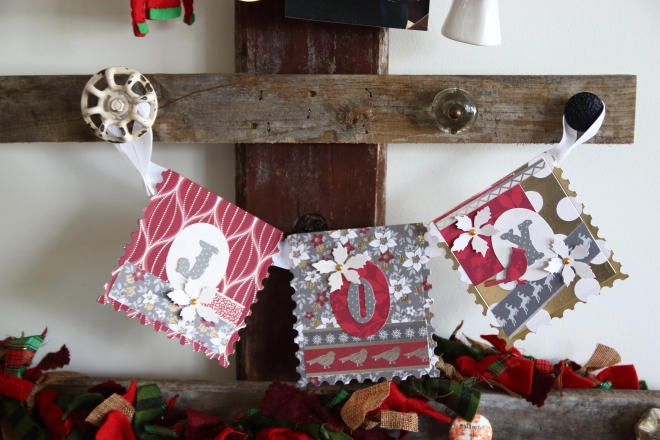